Ingredients
Scale
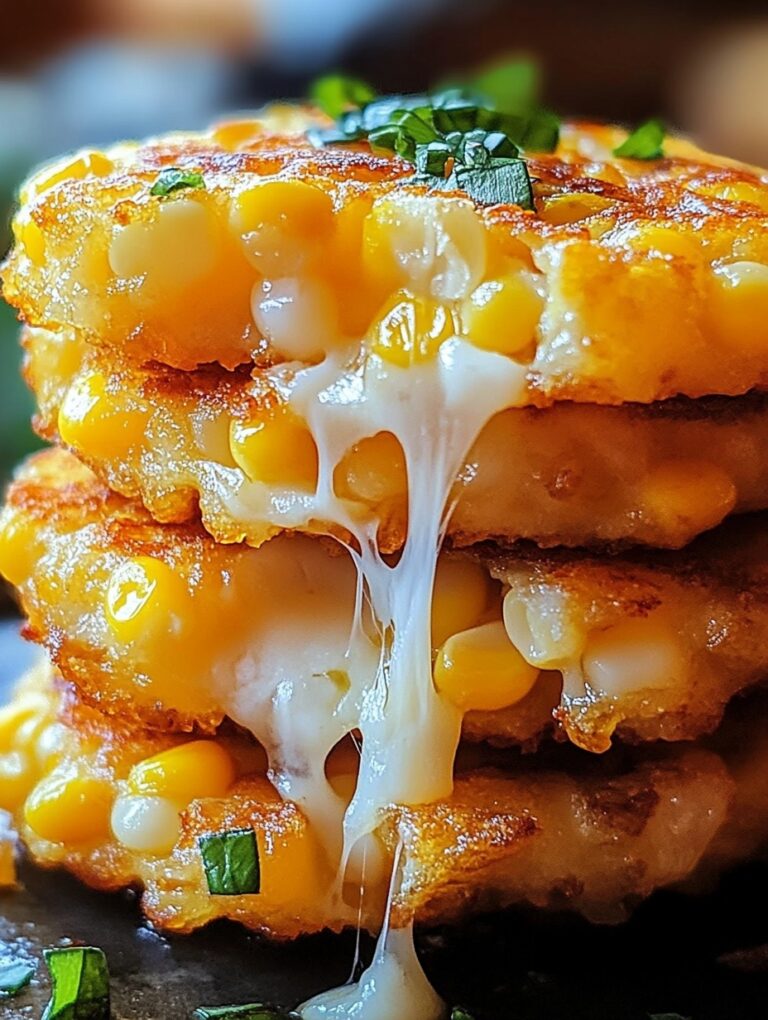
- 1 cup fresh or frozen corn kernels (drained if frozen)
- 1 cup shredded cheese (cheddar or mozzarella)
- ¾ cup all-purpose flour
- 1 teaspoon baking powder
- 2 large eggs
- ¼ teaspoon salt
- ¼ teaspoon black pepper
- 2 tablespoons chopped fresh parsley or chives (optional)
- 2–3 tablespoons vegetable oil (for frying)
- 1–2 tablespoons milk or water (optional, for batter consistency)
Instructions
- In a large mixing bowl, combine the flour, baking powder, salt, and pepper.
- In a separate bowl, lightly beat the eggs.
- Add the eggs to the dry ingredients and stir gently to combine.
- Fold in the corn kernels, shredded cheese, and chopped herbs if using.
- If the batter is too thick, add milk or water one tablespoon at a time until the batter holds together but is still thick.
- Heat a non-stick skillet over medium heat and add enough oil to coat the pan.
- Scoop spoonfuls of batter onto the hot skillet, flattening each slightly with the back of the spoon.
- Cook the fritters for 3–4 minutes on each side until golden brown and crispy.
- Transfer cooked fritters to a plate lined with paper towels to drain excess oil.
- Serve warm with your choice of dipping sauce or salad.
Notes
Use fresh or well-drained frozen corn for best texture.
Do not overmix the batter to keep fritters light and tender.
Adjust seasoning to taste; add spices like paprika or cayenne for a kick.
Fritters reheat well in a skillet or oven to maintain crispiness.
- Prep Time: 10
- Cook Time: 15