
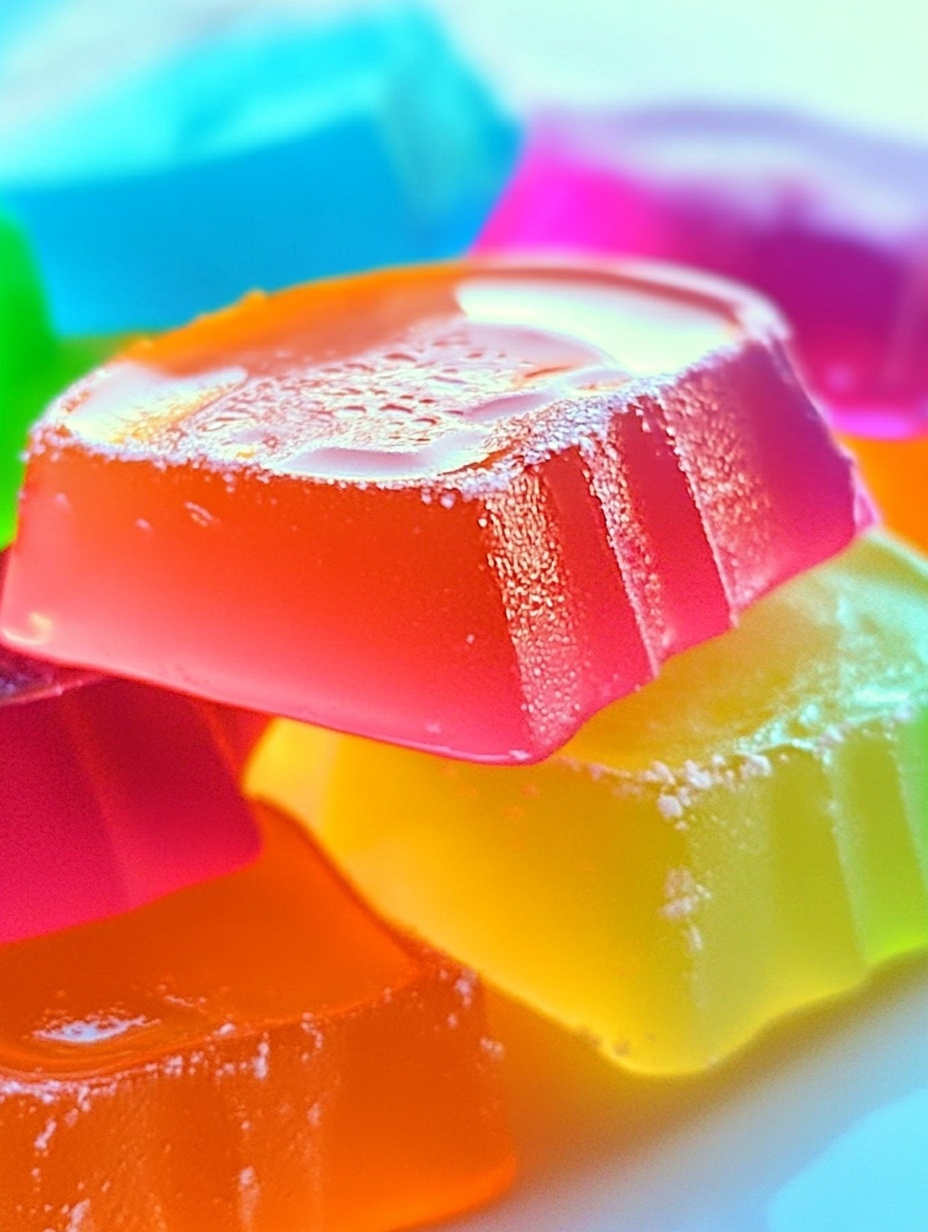
I’ve always loved experimenting with colorful, playful treats in my kitchen, and Easy Jello Candy Melts quickly became one of my favorite DIY projects. The first time I tried making these, I was amazed at how a simple combination of ingredients could transform into such vibrant, melt-in-your-mouth candies. They’re fun to make, even more fun to eat, and perfect for adding a splash of creativity to any occasion.
What I love most about this recipe is its versatility. You can create candies in virtually any color or flavor, adjust sweetness levels, or even mix in sprinkles and edible decorations to match holidays, birthdays, or themed parties. These candies are not just visually appealing—they’re a joy for the senses, making them an excellent project for both kids and adults who enjoy hands-on kitchen fun.
Another reason this recipe is a staple in my kitchen is its affordability. The ingredients are simple, easy to find, and don’t require any special equipment. With just a few basic items, you can create dozens of candy melts that look like they came straight from a professional candy shop. It’s a creative outlet that doesn’t break the bank, which makes it ideal for anyone who enjoys DIY treats on a budget.
Here’s what you’ll need for this recipe:
-
1 package of flavored Jello (any flavor you like)
-
1 cup of powdered sugar
-
½ cup of cornstarch
-
½ cup of water
-
1 teaspoon of vanilla extract
-
Candy molds of your choice
-
Optional: sprinkles or edible glitter for decoration
This combination of ingredients ensures a smooth, flexible candy that holds its shape and has just the right amount of sweetness. Preparing these candies is straightforward, making it an ideal project for a fun afternoon in the kitchen or for preparing unique party favors.
By the end of this recipe, you’ll have a batch of colorful, fun, and delicious candy melts that are perfect for gifting, snacking, or decorating desserts. Their playful nature makes them irresistible, and once you start experimenting with flavors and designs, you’ll find yourself coming back to this recipe again and again.
How to Prepare Easy Jello Candy Melts
Creating these vibrant Jello Candy Melts is easier than you might think. With a few simple steps, you can transform basic ingredients into colorful, melt-in-your-mouth treats. This recipe is designed to be quick, easy, and fully customizable, perfect for beginners and experienced candy makers alike.
Step-by-Step Instructions
-
Prepare your workspace: Begin by cleaning your kitchen surface and gathering all ingredients. This ensures a smooth process and prevents any surprises during preparation. Place your candy molds on a flat surface for easy filling.
-
Mix dry ingredients: In a medium-sized bowl, combine 1 cup of powdered sugar and ½ cup of cornstarch. Stir thoroughly until the mixture is smooth and free of lumps. Using a sifter can help create a fine, even texture.
-
Combine with liquid: In a separate saucepan, pour ½ cup of water and add 1 package of flavored Jello. Heat over low to medium heat while continuously stirring. Gradually add the powdered sugar and cornstarch mixture. Make sure to stir constantly to prevent lumps or sticking.
-
Add flavoring: Once the mixture begins to thicken, add 1 teaspoon of vanilla extract. Continue stirring until the mixture becomes a smooth, slightly thick consistency that is easy to pour.
-
Fill molds: Carefully spoon the mixture into your candy molds. Fill each cavity evenly, and tap the mold gently on the countertop to remove any air bubbles. If desired, sprinkle edible glitter or small decorations on top for added flair.
-
Set the candy: Allow the candies to set at room temperature for at least 2–3 hours. For faster results, you can refrigerate them for about 30–45 minutes. The candies should hold their shape and have a firm, yet slightly chewy texture.
-
Remove from molds: Gently pop each candy out of the mold. If the edges stick slightly, use a small knife or spatula to loosen them. Handle the candies carefully to maintain their shape.
-
Store or serve: Place the candies in an airtight container to preserve freshness. They can be stored at room temperature for up to a week or refrigerated for longer shelf life.
Quick Tips for Customization
-
Mix different Jello flavors in the same batch to create layered or marbled effects.
-
Add mini chocolate chips, chopped nuts, or dried fruit to the mixture for extra texture.
-
For themed events, use molds in shapes that match holidays or parties.
This recipe is popular with both kids and adults because it combines creativity, fun, and delicious taste. The process is simple enough for a quick DIY project, yet flexible enough for more elaborate designs. You can experiment with colors, flavors, and decorations, making each batch unique.
By following these steps, you’ll produce a batch of Jello Candy Melts that are colorful, flavorful, and irresistibly fun to eat. Their chewy texture and vibrant appearance make them a standout treat for any occasion.
Print
Easy Jello Candy Melts: A Fun DIY Treat
Easy Jello Candy Melts are a colorful, fun, and simple DIY treat that anyone can make at home. With minimal ingredients and flexible customization options, they are perfect for parties, gifts, or a creative kitchen project.
- Total Time: 25 minutes
- Yield: 25 1x
Ingredients
- 1 package of flavored Jello (any flavor)
- 1 cup powdered sugar
- ½ cup cornstarch
- ½ cup water
- 1 teaspoon vanilla extract
- Candy molds of your choice
- Optional: sprinkles or edible glitter for decoration
Instructions
- Prepare your workspace: Clean your kitchen surface and gather all ingredients. Place candy molds on a flat, stable surface.
- Mix dry ingredients: In a medium bowl, combine powdered sugar and cornstarch. Stir until smooth and lump-free.
- Combine with liquid: In a saucepan, pour water and add Jello. Heat on low to medium, stirring constantly. Gradually add the powdered sugar and cornstarch mixture.
- Add flavoring: Once the mixture thickens, add vanilla extract. Stir until smooth and pourable.
- Fill molds: Spoon the mixture evenly into molds. Tap molds gently to remove air bubbles. Add optional decorations on top.
- Set the candy: Let candies set at room temperature for 2–3 hours, or refrigerate for 30–45 minutes for faster setting.
- Remove from molds: Gently pop candies out. Use a small knife or spatula if edges stick.
- Store or serve: Place candies in an airtight container. Store at room temperature for up to one week or refrigerate for longer freshness.
Notes
Use silicone molds for easy removal.
Experiment with layered colors for a unique effect.
Avoid overcooking the mixture to prevent it from becoming too firm.
- Prep Time: 15
- Cook Time: 10
FAQs – Easy Jello Candy Melts
1. Can I use sugar substitutes instead of powdered sugar?
Yes, you can replace powdered sugar with a suitable sugar substitute, but make sure it’s finely powdered to maintain the smooth texture of the candy. Some substitutes may slightly change the consistency or sweetness.
2. How long do Jello Candy Melts last?
When stored in an airtight container at room temperature, they last about one week. Refrigerating them can extend freshness up to two weeks, but they may become slightly firmer.
3. Can I use gelatin instead of Jello?
Yes, unflavored gelatin can be used with added flavoring and sweetener, but you’ll need to adjust the amounts to match the Jello’s sweetness and firmness.
4. What molds work best for these candies?
Silicone molds are ideal because they are flexible and make it easy to remove the candies without breaking them. Plastic or metal molds may also work but handle with extra care.
5. Can I add decorations to the candy?
Absolutely! Edible glitter, sprinkles, or tiny candy pieces can be added before the mixture sets. This makes the candy more festive and visually appealing.
6. Can I make them in different shapes and sizes?
Yes, you can use any mold shape or size you prefer. Mini shapes are great for party favors, while larger shapes make fun gifts or themed treats.
7. Is this recipe kid-friendly?
Definitely! Children can help mix, pour, and decorate the candies. Just supervise the steps that involve heat to ensure safety.
8. Can I layer different flavors?
Yes, pour one layer, allow it to set partially, then add the next layer. This creates beautiful multicolored candy melts that are visually striking and fun to eat.