
I have always loved recipes that bring together the joy of celebration and the ease of simple preparation. The No-Bake Funfetti Oreo Icebox Cake is one of those recipes that feels like a party in every bite. The very first time I made this dessert, it reminded me of birthday celebrations filled with laughter, balloons, and bright colors. It’s a treat that doesn’t just satisfy a sweet craving; it also lifts your spirits with its fun, colorful sprinkles and creamy layers. Every spoonful feels light, refreshing, and indulgent, making it one of my go-to desserts when I want to make something special without turning on the oven.
This recipe holds a special place in my kitchen because of how easily it comes together. It’s not only quick, but it also allows me to be creative with presentation and flavors. When I serve it to family or friends, I often get that moment of silence when everyone takes their first bite—followed by wide smiles and requests for seconds. That’s when I know I’ve made something unforgettable.
Why You Will Love This Recipe
There are many reasons why this No-Bake Funfetti Oreo Icebox Cake will quickly become one of your favorites. First, it is incredibly easy to make, which means you don’t need to be an experienced baker to create something beautiful and delicious. Second, it requires no baking at all, so you can prepare it even during warm summer days without worrying about heating up your kitchen. Third, its playful colors and creamy texture make it a show-stopper for gatherings, parties, or even a quiet family dessert.
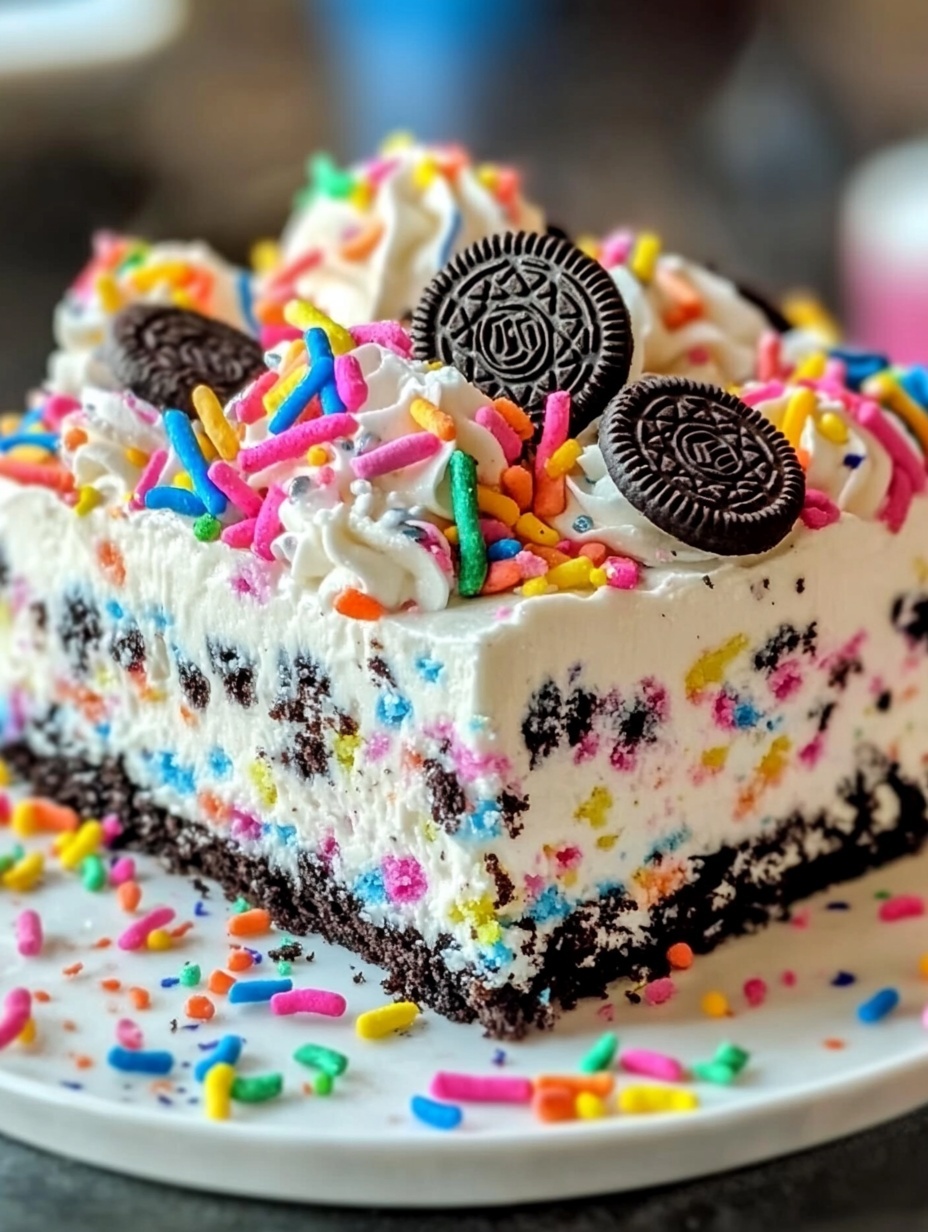
This cake has that wonderful combination of crunchy Oreo layers, fluffy whipped cream, and the fun sweetness of sprinkles. It’s not just delicious—it’s also visually appealing, which makes it perfect for birthdays, potlucks, or anytime you want to surprise your loved ones with a cheerful treat.
Versatile
One of the best things about this recipe is how versatile it is. You can experiment with different Oreo flavors, use chocolate chips instead of sprinkles, or even add layers of fruit like strawberries or bananas for a refreshing twist. If you prefer a lighter version, you can use low-fat whipped topping and reduced-sugar Oreos without sacrificing the taste. This flexibility allows you to make it your own while still keeping the essence of the recipe intact.
Affordable
Another reason I love this recipe is how budget-friendly it is. The ingredients are simple, easy to find in any grocery store, and don’t require expensive tools or special baking equipment. With just a handful of items, you can create a dessert that looks impressive and tastes like it came straight from a bakery. Whether you are preparing it for a large group or just for your family, it won’t break the bank.
Ingredients for the Recipe
-
Golden Oreos (or regular Oreos if you prefer)
-
Whipped topping (such as Cool Whip)
-
Cream cheese
-
Powdered sugar
-
Vanilla extract
-
Rainbow sprinkles
-
Whole milk
How to Prepare This Recipe
When I prepare this No-Bake Funfetti Oreo Icebox Cake, I always enjoy how simple and stress-free the process is. The steps are straightforward, yet the final result looks like it took hours of work. What makes this recipe stand out is the layering of textures: creamy, crunchy, and fluffy all in one bite. It is the type of dessert that feels luxurious without requiring complicated skills.
Step-by-Step Instructions for Preparation
Step 1: Prepare the cream filling
Start by placing softened cream cheese in a mixing bowl. Beat it with an electric mixer until smooth and creamy. Add powdered sugar and vanilla extract, then continue mixing until well combined. This forms the rich base of your filling. Next, gently fold in the whipped topping until the mixture is light and fluffy. Add a generous amount of rainbow sprinkles and carefully fold them through the mixture so the colors are evenly spread without breaking apart.
Step 2: Prepare the Oreos
Pour whole milk into a shallow dish. Dip Golden Oreos, one at a time, into the milk for a couple of seconds. The goal is to soften them slightly, not to make them soggy. This step ensures that once layered, the Oreos soften into a cake-like texture that melts in your mouth.
Step 3: Assemble the first layer
In a rectangular baking dish, spread a thin layer of the cream mixture across the bottom. This prevents the cookies from sticking and adds an extra creamy base. Place a layer of milk-dipped Oreos over the cream, arranging them tightly so there are no gaps.
Step 4: Add the cream and sprinkles layer
Spoon a generous amount of the cream mixture over the Oreos and spread it evenly with a spatula. Sprinkle extra rainbow sprinkles across the cream to add bursts of color in every layer.
Step 5: Continue layering
Repeat the process: dip Oreos in milk, layer them over the cream, then spread another thick layer of the cream mixture. Keep alternating layers until you reach the top of the dish. The final layer should be the cream mixture, spread smoothly across the surface.
Step 6: Decorate the top
For a beautiful finish, sprinkle the top with extra rainbow sprinkles. You can also crush a few Oreos and sprinkle them over the top for added texture and decoration.
Step 7: Chill the cake
Cover the dish with plastic wrap and refrigerate it for at least 4–6 hours, or preferably overnight. This chilling time allows the cookies to soften and the flavors to blend into a smooth, cake-like dessert.
Step 8: Serve and enjoy
Once chilled, slice the cake into squares and serve cold. Each piece will reveal beautiful layers of Oreos, cream, and colorful sprinkles.
Quick and Easy
One of the best parts of this recipe is how quick it is to prepare. The actual assembly takes no more than 20 minutes, and the rest of the time is simply waiting for it to chill in the refrigerator. This makes it a fantastic make-ahead dessert. If I have guests coming over, I usually prepare it the night before so I can focus on other dishes on the day of the gathering.
Customizable
This No-Bake Funfetti Oreo Icebox Cake is highly customizable to fit your preferences. If you love chocolate, you can swap Golden Oreos for classic chocolate Oreos or even try limited-edition flavors. For a fruity twist, add thinly sliced strawberries or bananas between the layers. You could also drizzle chocolate or caramel sauce over the top before serving for extra indulgence. If you want a festive touch, match the sprinkles to the occasion, such as red and green for Christmas or pastel colors for Easter.
Popular with Many People
Every time I share this dessert, it becomes an instant favorite. Children are drawn to the colorful sprinkles and creamy layers, while adults appreciate its nostalgic charm. Because it requires no baking, it is a reliable recipe to make when you want to impress without spending hours in the kitchen. It is also an ideal dessert to bring to potlucks or parties, as it can be easily transported and served in neat squares.
This cake has universal appeal, making it a recipe you’ll want to keep on hand for all kinds of celebrations. Its creamy layers and fun appearance never fail to make people smile, and that’s why I keep coming back to it again and again.
Print
No-Bake Funfetti Oreo Icebox Cake
This No-Bake Funfetti Oreo Icebox Cake is a colorful, creamy, and indulgent dessert that requires no baking. Perfect for birthdays, celebrations, or a fun family treat, it combines the crunch of Oreos, the fluffiness of whipped cream, and the joy of rainbow sprinkles. Easy to prepare, versatile, and affordable, it’s a recipe that never fails to impress.
- Total Time: 0 hours
- Yield: 12 1x
Ingredients
- 24 Golden Oreos (or regular Oreos if preferred)
- 8 oz cream cheese, softened
- 1 cup powdered sugar
- 1 tsp vanilla extract
- 2 cups whipped topping
- 2–3 tbsp whole milk
- ½ cup rainbow sprinkles (plus extra for garnish)
Instructions
- Prepare the cream filling:
Beat softened cream cheese in a bowl until smooth. Add powdered sugar and vanilla extract, then continue mixing until fully combined. Fold in whipped topping until light and fluffy, and mix in ½ cup rainbow sprinkles evenly. - Dip the Oreos:
Pour whole milk into a shallow dish. Dip each Oreo for 2–3 seconds to slightly soften without making them mushy. - Spread the base layer:
In a rectangular baking dish, spread a thin layer of cream filling to prevent cookies from sticking and create a smooth base. - Layer the first row of Oreos:
Arrange the milk-dipped Oreos tightly on top of the cream layer, leaving no gaps. - Add cream and sprinkles:
Spread a generous layer of cream mixture over the Oreos and sprinkle additional rainbow sprinkles evenly on top. - Repeat layers:
Continue alternating Oreo layers with cream mixture and sprinkles until the dish is filled. The final layer should be the cream mixture, smoothed across the surface. - Decorate the top:
Sprinkle extra rainbow sprinkles and crushed Oreos for a festive, colorful finish. - Chill and serve:
Cover with plastic wrap and refrigerate for 4–6 hours or overnight. Slice into squares and serve cold.
Notes
Use lightly softened cream cheese for easy mixing.
Avoid over-soaking Oreos; they should be soft but not mushy.
Customize with chocolate drizzle or fruit layers for added flavor.
- Prep Time: 20
- Cook Time: None
FAQs
1. Can I make this cake ahead of time?
Yes! In fact, I recommend making it at least 4–6 hours in advance, or overnight. Chilling allows the cookies to soften and the flavors to meld perfectly.
2. Can I use regular Oreos instead of Golden Oreos?
Absolutely. Regular Oreos work well and provide a chocolatey contrast to the cream filling. You can even mix flavors for a more colorful effect.
3. Can I substitute the whipped topping?
Yes. You can use homemade whipped cream instead of store-bought whipped topping. Just make sure it is lightly sweetened and whipped to soft peaks before folding into the cream cheese mixture.
4. How do I store leftovers?
Store the cake in an airtight container in the refrigerator for up to 3–4 days. The cake may become softer over time, but it will still taste delicious.
5. Can I make it gluten-free?
Yes. Simply use gluten-free sandwich cookies as a substitute for the Oreos. The cream filling and sprinkles remain the same.
6. Can I add fruit or chocolate drizzle?
Definitely. Adding sliced strawberries, bananas, or a drizzle of chocolate or caramel sauce enhances flavor and makes the dessert even more festive.
7. Is this cake suitable for kids?
Yes, this is a kid-friendly dessert. The fun colors, creamy layers, and sweet taste make it extremely popular among children.
8. Can I freeze this cake?
Freezing is possible, but the texture may change slightly after thawing. For best results, enjoy it fresh from the refrigerator.