

I’ve always been a fan of desserts that bring back fond memories, and nothing screams nostalgia quite like s’mores. As a baker, I wanted to create a treat that captures the joy of campfire nights while being perfectly portable and easy to enjoy anytime. That’s how these Buttery S’Mores Hand Pies were born. Every bite is a delicate balance of flaky, buttery pastry, gooey marshmallows, and rich chocolate, all tucked inside a golden pocket of comfort. Making these hand pies is like creating tiny parcels of happiness you can savor on your own or share with friends and family.
What I love most about this recipe is how simple it is to make, yet it feels indulgent and special. You don’t need a campfire to enjoy the classic s’mores experience anymore; these hand pies bring all the flavors right to your kitchen. Plus, the buttery crust and the melty filling make them irresistible, even for the pickiest of dessert lovers. Whether you’re baking for a weekend treat, a birthday party, or just a cozy night in, these pies are guaranteed to impress.
These hand pies are incredibly versatile. You can enjoy them warm straight from the oven, or let them cool slightly and pack them for school lunches, picnics, or road trips. They also pair beautifully with a scoop of vanilla ice cream or a drizzle of caramel sauce. If you want to get creative, you can switch up the chocolate type or add a sprinkle of nuts for extra crunch.
One of the best things about this recipe is how affordable it is. The ingredients are pantry staples you likely already have on hand, and they don’t break the bank. With just a few simple components, you can create a batch of desserts that feel luxurious but are easy on your wallet.
Ingredients for the recipe:
-
2 cups all-purpose flour
-
1 cup unsalted butter, chilled and cubed
-
1/4 cup granulated sugar
-
1/4 teaspoon salt
-
1/4 cup cold water
-
1 cup mini marshmallows
-
1 cup chocolate chips or chocolate chunks
-
1 teaspoon vanilla extract
-
1 egg, beaten (for egg wash)
How to Prepare Buttery S’Mores Hand Pies
Preparing these Buttery S’Mores Hand Pies is straightforward, and the process is as rewarding as the finished product. With clear steps, you can make this recipe even if you’re new to baking. The key is to keep the ingredients cold, work efficiently, and enjoy the process of creating something delicious from scratch.
Step-by-Step Instructions
-
Prepare the dough: In a large bowl, combine the all-purpose flour, granulated sugar, and salt. Add the chilled, cubed butter. Using a pastry cutter or your fingers, work the butter into the flour mixture until it resembles coarse crumbs with some pea-sized pieces.
-
Add liquid: Gradually pour in the cold water and vanilla extract, mixing gently until the dough comes together. Avoid overworking the dough, as this can make it tough.
-
Chill the dough: Shape the dough into a disk, wrap it in plastic wrap, and refrigerate for at least 30 minutes. Chilling ensures the butter remains firm, which gives the crust a flaky texture.
-
Prepare the filling: While the dough chills, mix the mini marshmallows and chocolate chips in a small bowl. This will make it easier to fill the hand pies later.
-
Roll out the dough: On a lightly floured surface, roll the dough out to about 1/4 inch thick. Use a round or square cutter to cut out shapes for the pies. You should get approximately 8–10 pieces, depending on size.
-
Assemble the pies: Place a small spoonful of the marshmallow and chocolate mixture in the center of each dough piece. Fold the dough over the filling to create a pocket and press the edges with a fork to seal completely.
-
Apply egg wash: Brush the tops of the hand pies with the beaten egg. This will give them a shiny, golden finish when baked.
-
Bake: Preheat the oven to 375°F (190°C). Arrange the pies on a parchment-lined baking sheet, leaving space between each one. Bake for 20–25 minutes, or until the crust is golden brown.
-
Cool slightly: Remove the pies from the oven and let them cool for 5–10 minutes. This allows the filling to set slightly, making them easier to handle.
-
Serve and enjoy: Enjoy the hand pies warm for a gooey, melty treat. You can also let them cool completely and store in an airtight container for up to two days.
Quick and Easy Tips
-
Keep the butter and water cold to ensure a flaky crust.
-
Use mini marshmallows instead of large ones to make filling easier.
-
Work quickly when assembling to prevent the dough from softening.
Customizable Options
-
Swap milk chocolate for dark chocolate or white chocolate according to preference.
-
Add crushed graham crackers to the filling for extra texture.
-
Sprinkle a little sea salt on top before baking for a sweet-salty twist.
Popular Appeal
These hand pies are universally loved because they combine a familiar childhood favorite with a gourmet touch. Perfect for parties, after-school snacks, or cozy nights at home, they’re sure to please both kids and adults alike.
Print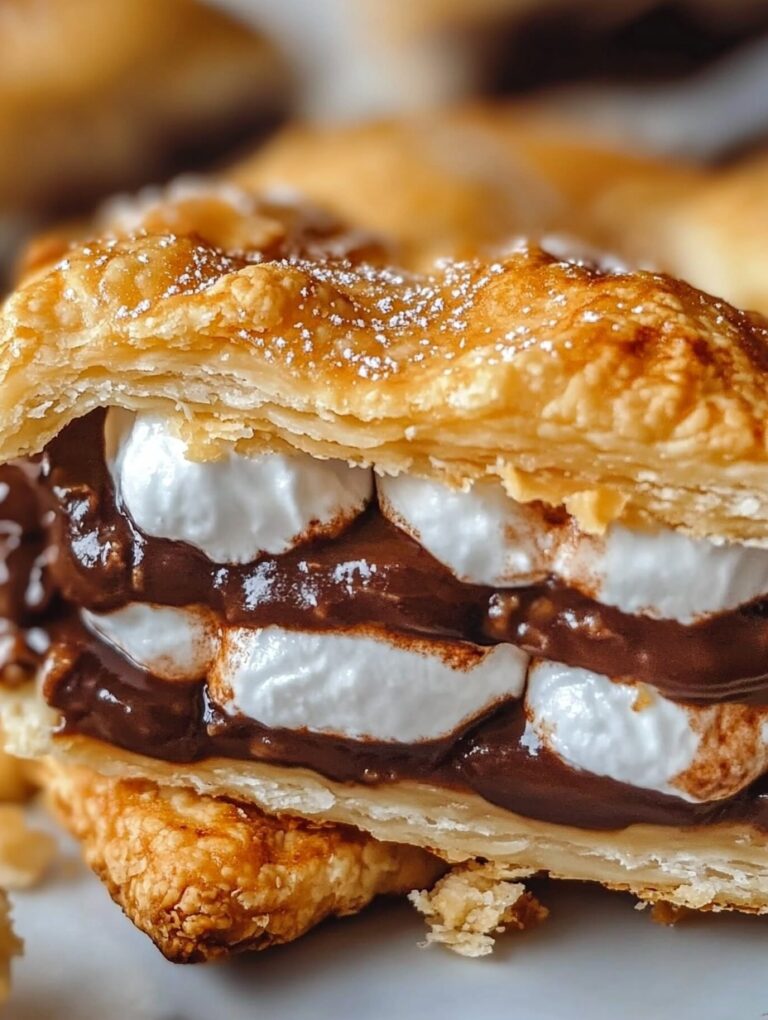
Buttery S’Mores Hand Pies
These Buttery S’Mores Hand Pies capture the classic campfire treat in a portable, flaky pastry. Each pie is filled with gooey marshmallows and rich chocolate, creating a perfect balance of textures and flavors. Ideal for parties, snacks, or cozy nights at home.
- Total Time: 45 minutes
- Yield: 10 1x
Ingredients
- 2 cups all-purpose flour
- 1 cup unsalted butter, chilled and cubed
- 1/4 cup granulated sugar
- 1/4 teaspoon salt
- 1/4 cup cold water
- 1 cup mini marshmallows
- 1 cup chocolate chips or chunks
- 1 teaspoon vanilla extract
- 1 egg, beaten (for egg wash)
Instructions
- In a large bowl, combine flour, sugar, and salt. Add chilled butter and mix until coarse crumbs form.
- Gradually add cold water and vanilla, mixing until dough forms. Avoid overworking.
- Shape dough into a disk, wrap, and refrigerate for 30 minutes.
- Mix mini marshmallows and chocolate in a small bowl for the filling.
- Roll dough to 1/4 inch thickness and cut into desired shapes.
- Place filling in the center of each dough piece, fold over, and seal edges with a fork.
- Brush tops with beaten egg for a golden finish.
- Preheat oven to 375°F (190°C). Arrange pies on parchment-lined sheets.
- Bake 20–25 minutes until golden brown.
- Cool for 5–10 minutes before serving.
Notes
Keep butter and water cold for flaky crust.
Mini marshmallows work best for easy filling.
Can add crushed graham crackers or sea salt for variety.
- Prep Time: 20
- Cook Time: 25
FAQs About Buttery S’Mores Hand Pies
1. Can I make these hand pies ahead of time?
Yes, you can prepare the hand pies and store them in the refrigerator for up to 24 hours before baking. Simply cover them with plastic wrap to prevent the dough from drying out.
2. Can I freeze the hand pies?
Absolutely. Assemble the hand pies and place them on a baking sheet in the freezer until firm. Then transfer them to a freezer-safe bag or container. Bake them from frozen, adding an extra 5–10 minutes to the baking time.
3. Can I use a different type of chocolate?
Yes. Milk, dark, or white chocolate all work well. You can even mix chocolates for a layered flavor.
4. How can I prevent the marshmallows from oozing out?
Use mini marshmallows and avoid overfilling the pies. Press the edges firmly with a fork to seal completely and brush with egg wash to help secure the seam.
5. Can I make the dough without butter?
Butter gives the dough its rich flavor and flaky texture, but you can substitute with a high-quality margarine if needed. Keep in mind the flavor and flakiness may slightly differ.
6. Are these hand pies suitable for parties?
Yes, they are perfect for gatherings. Their portable size makes them ideal for kids’ parties, picnics, or dessert tables.