
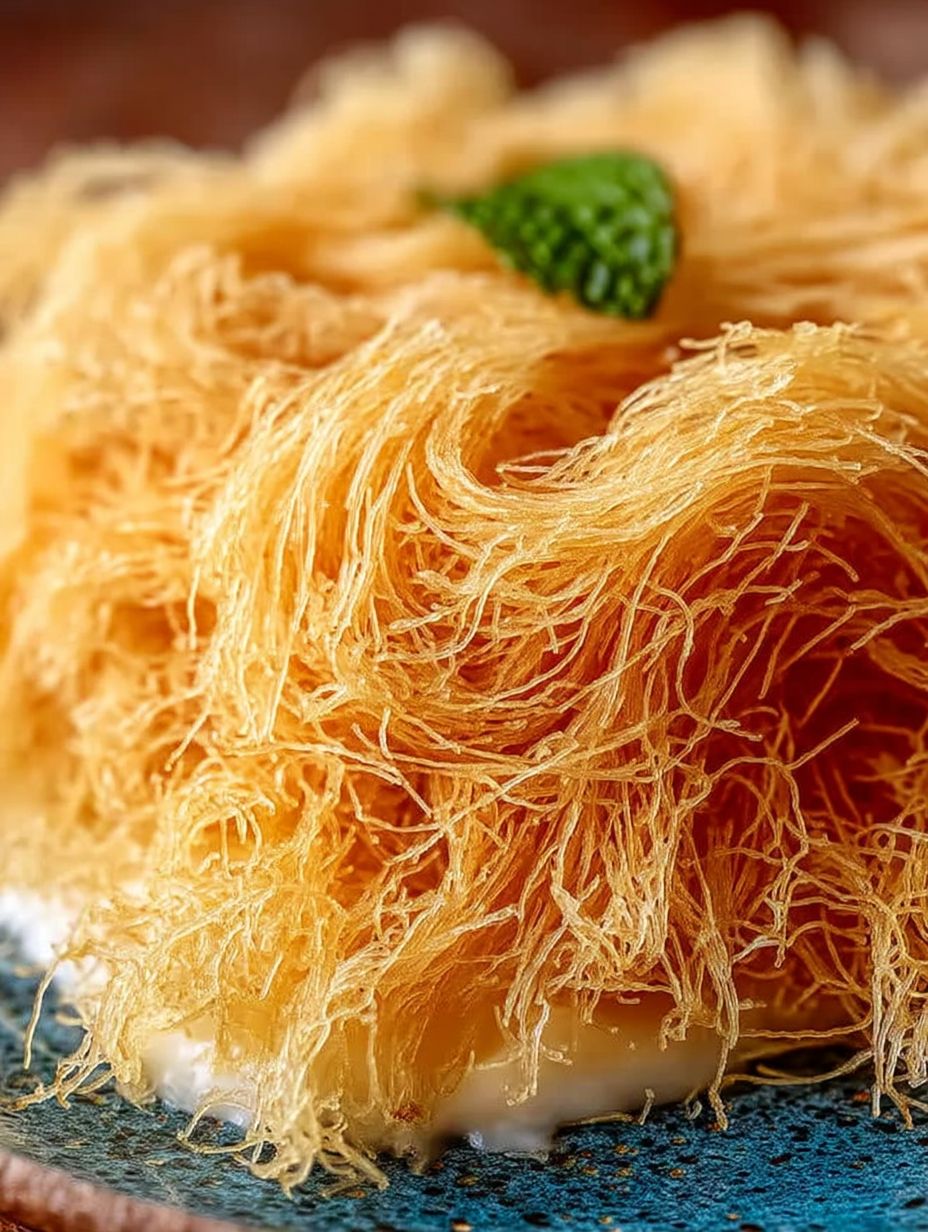
Imagine the delicate crunch of golden, shredded pastry embracing a sweet, nutty filling that melts in your mouth like a warm hug from Grandma. The sweet syrup drizzled over the top adds a luscious finish that dances across your taste buds, leaving you craving more.
I still remember the first time I tried kataifi at my friend’s house. There it was, sitting pretty on the dessert table like it owned the place, while I awkwardly fumbled with my fork, trying not to look like a complete dessert rookie. One bite in and I was hooked! Who knew that shredded dough could make me feel so fancy?
Reasons Why You’ll Love This Recipe
This kataifi recipe stands out for its easy preparation, making it perfect for both beginner and seasoned cooks alike. Its unique flavor profile combines nutty sweetness with hints of aromatic spices, creating an unforgettable indulgence. The stunning appearance of golden strands draped over that luscious filling makes it a showstopper at any gathering. Plus, it’s incredibly versatile—feel free to experiment with different nuts or add your favorite spices to customize your creation!
Ingredients for How To Make Kataifi From Scratch
Here’s what you need for this delicious dish:
All ingredients with their exact quantities can be found in the recipe card below.
Step-by-Step Preparation How To Make Kataifi From Scratch

Here’s a simple guide to help you prepare this delicious recipe:
Step 1: Preheat Your Oven
Preheat your oven to 350°F (175°C). This ensures a crisp finish on our kataifi once we get all those layers ready to bake.
Step 2: Prepare Your Filling
In a mixing bowl, combine 1 cup of chopped nuts (walnuts or pistachios), 1/2 cup of sugar, and 1 teaspoon of ground cinnamon. Mix well until evenly combined. Set aside while we work on our kataifi.
Step 3: Assemble the Kataifi
Carefully unroll about half of your kataifi dough and fluff it gently with your fingers to separate the strands. Drizzle half of the melted unsalted butter over the dough while tossing lightly to coat each strand thoroughly.
Step 4: Fill and Roll
Take small handfuls of the prepared nut mixture and sprinkle them along one end of the kataifi strands. Roll up tightly into logs, ensuring that the filling stays inside. Place each log seam-side down onto a greased baking sheet.
Step 5: Bake Until Golden
Once all logs are assembled and arranged neatly on your baking sheet, brush them with the remaining melted butter. Bake in preheated oven for about 30-35 minutes or until golden brown and crispy.
Step 6: Make Your Sweet Syrup
While your kataifi is baking, prepare your syrup by combining 1 cup of water and 1 cup of sugar in a saucepan over medium heat. Stir until sugar dissolves. Add a splash of lemon juice and simmer for about 10 minutes until slightly thickened.
Step 7: Drizzle Syrup Over Baked Kataifi
Once baked, remove kataifi from the oven and immediately pour hot syrup over them while they’re still warm. Allow them to soak up all that sweet goodness!
Garnish with chopped pistachios or walnuts on top before serving to elevate presentation! Serve immediately for extra crunchiness or let cool slightly if you’re feeling patient (I never am). Enjoy every glorious bite!
Perfecting the Cooking Process
To get the best results when learning how to make kataifi from scratch, always prepare your filling first. This way, you can let it cool while you work on the kataifi dough for that perfect texture.
Add Your Personal Touch
Feel free to experiment with fillings! Instead of using walnuts, try pistachios or almonds for a nutty twist. You could also drizzle honey or maple syrup instead of the traditional sugar syrup for added flavor.
Storage & Reheating
To maintain that delightful crunch in your kataifi, store the pastry and filling separately. Only combine them just before serving to ensure every bite is perfectly crispy.
Helpful Chef Tips
I remember the first time I made kataifi from scratch—my kitchen looked like a flour bomb exploded! But those sweet, crispy rolls were worth every messy moment.
Conclusion for How To Make Kataifi From Scratch
Creating kataifi from scratch offers a delightful journey into the world of sweet, flaky pastries. The combination of golden-brown layers with a rich filling creates a sensory experience that’s hard to resist. Not only is this recipe simple and rewarding, but it also allows for customization with your favorite nuts and syrups, ensuring each bite is uniquely yours. Don’t miss out on the opportunity to impress your family and friends with this delicious treat. Roll up your sleeves and dive into making kataifi from scratch today!
Print
How To Make Kataifi From Scratch
Delicious how to make kataifi from scratch recipe with detailed instructions and nutritional information.
- Total Time: 2 hours
- Yield: 12 servings 1x
Ingredients
- 1 cup chopped nuts (walnuts or pistachios)
- 1/2 cup sugar
- 1 teaspoon ground cinnamon
- kataifi dough, thawed and kept covered
- 1/2 cup unsalted butter, melted
- 1 cup sugar (for syrup)
- 1 cup water (for syrup)
- splash of lemon juice (for syrup)
Instructions
- Preheat your oven to 350°F (175°C).
- In a mixing bowl, combine chopped nuts, sugar, and ground cinnamon. Mix well until evenly combined. Set aside.
- Carefully unroll about half of your kataifi dough and fluff it gently with your fingers to separate the strands.
- Drizzle half of the melted unsalted butter over the dough while tossing lightly to coat each strand thoroughly.
- Take small handfuls of the prepared nut mixture and sprinkle them along one end of the kataifi strands.
- Roll up tightly into logs, ensuring that the filling stays inside.
- Place each log seam-side down onto a greased baking sheet.
- Brush the assembled logs with the remaining melted butter.
- Bake in preheated oven for about 30-35 minutes or until golden brown and crispy.
- While your kataifi is baking, prepare your syrup by combining water and sugar in a saucepan over medium heat.
- Stir until sugar dissolves.
- Add a splash of lemon juice and simmer for about 10 minutes until slightly thickened.
- Once baked, remove kataifi from the oven and immediately pour hot syrup over them while they are still warm.
- Allow them to soak up all that sweet goodness!
- Garnish with chopped pistachios or walnuts on top before serving.
Notes
Store leftover kataifi in an airtight container for up to three days.
Reheat kataifi in the oven for crispy texture restoration.
Serve warm with honey drizzle and chopped nuts on top.
For extra flavor, add spices to your filling mixture before wrapping.
- Prep Time: 60 minutes
- Cook Time: 60 minutes
- Method: Bake
Nutrition
- Calories: 300 kcal
- Sugar: 8g
- Sodium: 150mg
- Fat: 15g
- Carbohydrates: 40g
- Fiber: 3g
- Protein: 6g
- Cholesterol: 25mg
FAQs
How long does it take to make kataifi from scratch?
Making kataifi from scratch typically takes about 1 to 2 hours, depending on your experience level. This includes the time needed to prepare the dough, assemble the filling, and bake the pastry until golden brown. If you are new to this recipe, allow a bit more time to familiarize yourself with the process.
Can I freeze kataifi before baking?
Yes, you can freeze kataifi before baking! Simply assemble your kataifi pastries as directed in the recipe, then place them in an airtight container or wrap them tightly in plastic wrap. When you’re ready to bake, just add a few extra minutes to the baking time, ensuring they reach that perfect golden color.
What can I use instead of syrup for serving?
If you prefer not to use syrup for serving your kataifi, consider drizzling honey or fruit preserves over the top for added sweetness and flavor. You can also serve it with whipped cream or yogurt for a refreshing contrast that complements the crunchy layers beautifully.
How do I store leftover kataifi?
To store leftover kataifi, place it in an airtight container at room temperature for up to two days. If you need longer storage, refrigerate it for up to a week. For best results when reheating, place it in the oven briefly to restore its crispiness before serving again.