
I’ve always loved baking pastries that bring a little extra joy to my day, and the Chocolate Cream Cheese Danish is one of those special treats. From the first time I made it, I was hooked by how perfectly the creamy cheese filling and rich chocolate blend with the flaky, buttery dough. This recipe has quickly become a favorite in my kitchen, and I’m excited to share it with you.
Why will you love this recipe? Because it’s incredibly versatile and simple to make, yet it feels fancy enough to impress guests or treat yourself on a quiet morning. Whether you want a cozy breakfast, an indulgent dessert, or a sweet snack, this Danish fits the bill perfectly. Plus, it’s affordable — the ingredients are common pantry staples, which means you won’t need to break the bank to enjoy this delicious pastry.
The ingredients are straightforward and easy to find. You’ll need puff pastry sheets, cream cheese, powdered sugar, vanilla extract, and good-quality chocolate. I usually use dark chocolate for a richer flavor, but milk chocolate works just as well. You’ll also need a little egg for brushing the pastry to get that beautiful golden color. Because the ingredients are simple and affordable, this recipe is perfect for anyone looking to bake a delicious pastry without spending too much.
This Chocolate Cream Cheese Danish is a real crowd-pleaser, and once you try it, you’ll see why. The combination of creamy, sweet filling and flaky, buttery pastry creates a perfect balance that’s hard to resist. It’s a great way to impress friends, family, or even yourself!
Preparing this Chocolate Cream Cheese Danish is easier than you might think, making it perfect for both beginner and experienced bakers. The key is to work with chilled puff pastry and prepare the cream cheese filling just right. Let me walk you through the step-by-step process to ensure your danishes come out perfect every time.
Step 1: Prepare the cream cheese filling
In a medium bowl, combine softened cream cheese with powdered sugar and vanilla extract. Beat the mixture until smooth and creamy. This filling will be the rich, velvety center of your danish, so make sure there are no lumps.
Step 2: Prepare the puff pastry
Take the puff pastry sheets out of the fridge and let them thaw just until they are pliable but still cold. Preheat your oven to 375°F (190°C). On a lightly floured surface, roll out the pastry gently if needed to smooth any folds.
Step 3: Cut and assemble
Cut the puff pastry into squares, about 4 inches each. Place a spoonful of the cream cheese filling in the center of each square. Then add a small piece or shavings of chocolate on top of the filling. You can customize this by adding chopped nuts or fresh berries if you like.
Step 4: Fold and seal
Fold the corners of each square towards the center, pinching gently to seal but leaving some filling exposed. This creates the classic danish shape. Place the prepared danishes on a baking sheet lined with parchment paper.
Step 5: Egg wash and bake
Brush the exposed pastry edges with a beaten egg. This helps achieve that golden, shiny finish once baked. Bake the danishes in your preheated oven for about 18-22 minutes, or until the pastry is puffed and golden brown.
Step 6: Cool and serve
Allow the danishes to cool slightly before serving. They taste best warm but are delicious at room temperature too.
This recipe is quick and easy to prepare, with most of the effort spent assembling. Because it uses store-bought puff pastry, you skip the time-consuming step of making dough from scratch. You can also customize it to your taste: try swapping dark chocolate for milk chocolate or adding a sprinkle of cinnamon on the cream cheese filling for an extra flavor boost.
Many people love this recipe because it strikes the perfect balance between simplicity and indulgence. It’s popular as a breakfast treat, a brunch centerpiece, or a delightful dessert. Plus, its versatility means you can make it for special occasions or casual everyday enjoyment.
Print
Chocolate Cream Cheese Danish
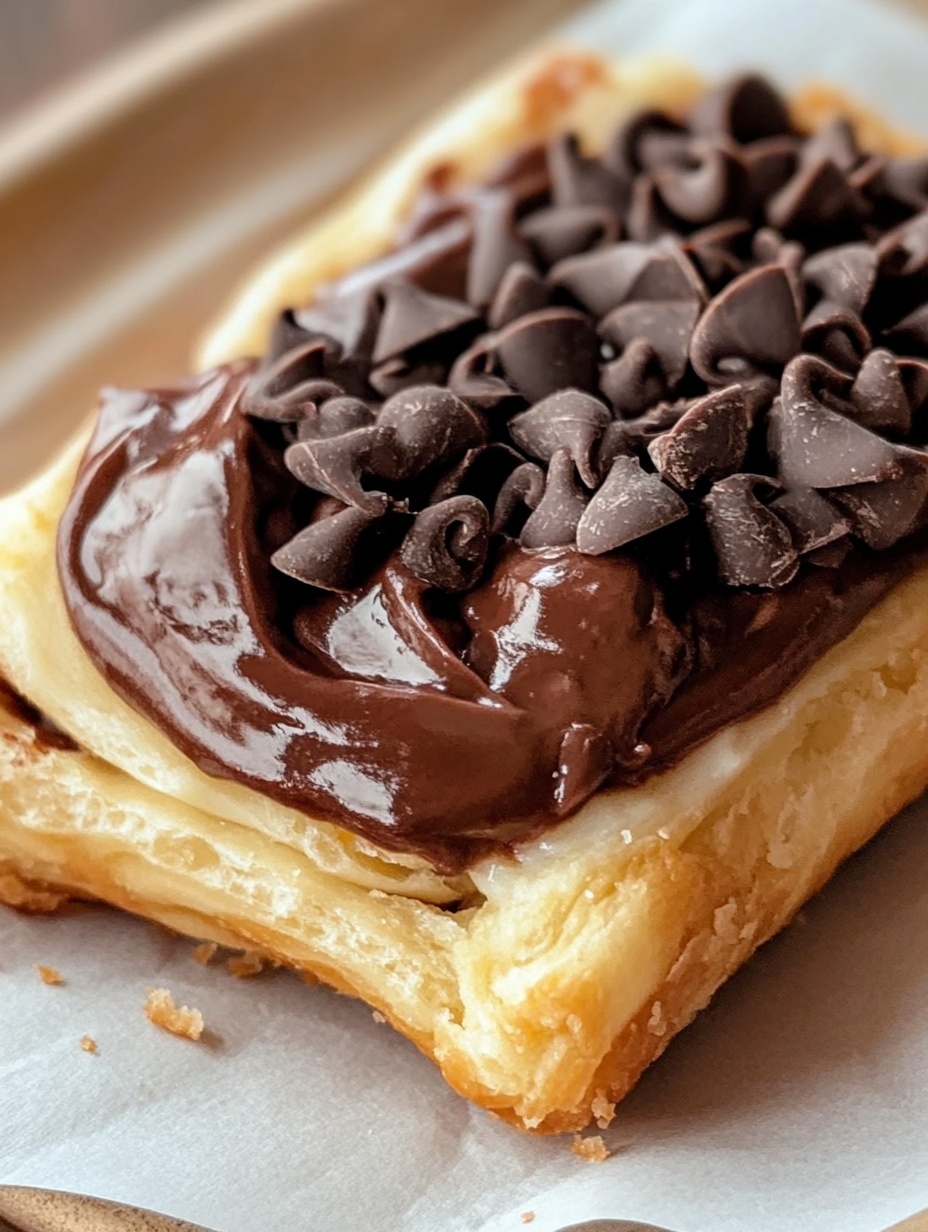
This Chocolate Cream Cheese Danish combines flaky puff pastry with a smooth cream cheese filling and rich chocolate, making it an indulgent yet simple treat perfect for any time of day.
- Total Time: 37 minutes
- Yield: 8 1x
Ingredients
- 1 sheet puff pastry (thawed if frozen)
- 4 oz cream cheese, softened
- 1/4 cup powdered sugar
- 1/2 tsp vanilla extract
- 2 oz dark or milk chocolate, chopped or shaved
- 1 egg (for egg wash)
Instructions
- Preheat the oven to 375°F (190°C).
- In a bowl, beat cream cheese, powdered sugar, and vanilla extract until smooth.
- Roll out puff pastry on a lightly floured surface if needed.
- Cut pastry into 4-inch squares.
- Place a spoonful of cream cheese filling in the center of each square.
- Top the filling with chopped chocolate pieces.
- Fold the corners of each square toward the center, pinching gently to seal.
- Arrange the danishes on a parchment-lined baking sheet.
- Brush the pastry edges with beaten egg.
- Bake for 18-22 minutes, or until golden and puffed.
- Cool slightly before serving.
Notes
Use chilled puff pastry for best results.
Customize by adding nuts, cinnamon, or fresh fruit.
Brush with egg wash carefully to avoid filling spills.
- Prep Time: 15
- Cook Time: 22
FAQs
Q: Can I use frozen puff pastry for this recipe?
A: Yes, frozen puff pastry works perfectly. Just make sure to thaw it according to package instructions before using.
Q: How should I store leftover danishes?
A: Store them in an airtight container at room temperature for up to two days. For longer storage, refrigerate and warm slightly before serving.
Q: Can I make the cream cheese filling ahead of time?
A: Absolutely! Prepare the filling a day in advance and keep it refrigerated. Bring it to room temperature before assembling.
Q: Is it possible to freeze the assembled danishes before baking?
A: Yes, you can freeze the assembled danishes on a baking sheet, then transfer to a freezer bag. Bake directly from frozen, adding a few extra minutes to the baking time.
Q: What chocolate types work best in this recipe?
A: Dark, milk, or semi-sweet chocolate all work well. Choose your favorite based on your preferred sweetness and flavor intensity.