
There’s something magical about the combination of red velvet and cheesecake. I still remember the first time I baked a batch of these Red Velvet Cheesecake Bites—it was during a quiet weekend when I needed something comforting, indulgent, and just the right amount of festive. The aroma that filled my kitchen, that slight tang of the cream cheese meeting the richness of cocoa—it was instantly a keeper. Since then, I’ve made them for birthdays, baby showers, holiday spreads, and even as a midweek treat just because.
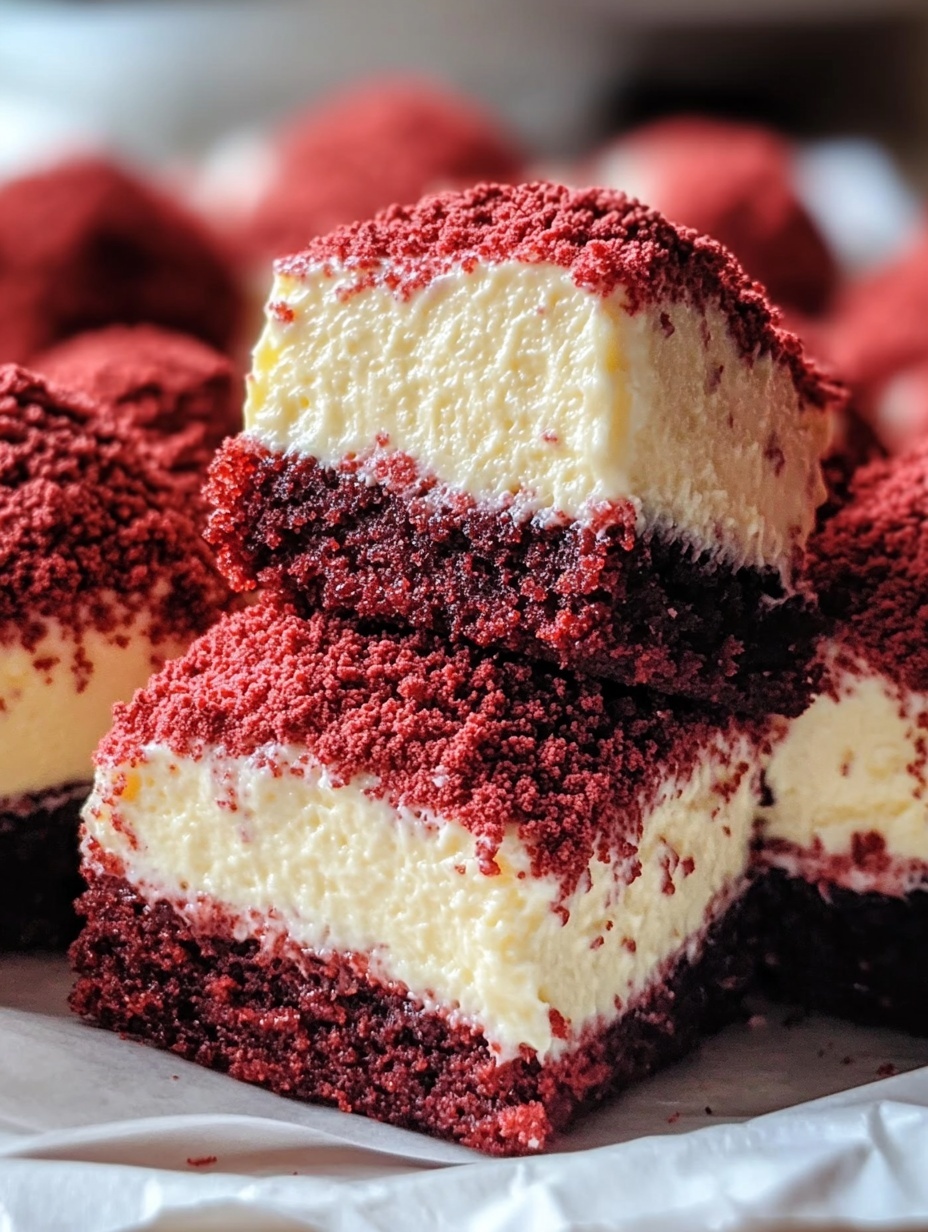
You’re going to fall in love with this recipe. It’s rich without being overwhelming, sweet but balanced, and perfect for sharing. Each bite-sized treat holds that signature red velvet flavor—soft, moist, and lightly chocolaty—paired with a creamy cheesecake center that melts in your mouth. They’re elegant enough for entertaining but simple enough for any day of the week.
Why You Will Love This Recipe
These cheesecake bites are everything a dessert should be—rich in flavor, smooth in texture, and beautiful on the plate. What makes them especially lovable is their adaptability. You can dress them up with a drizzle of melted chocolate, serve them plain, or even roll them in crushed nuts or coconut flakes for extra flair. They’re freezer-friendly too, which makes them convenient for make-ahead desserts or unexpected guests.
Each bite is the perfect mix of soft cake and creamy filling. Plus, they’re just the right size for portion control—if that matters to you. If not, trust me, no one’s judging if you eat more than a few!
Versatile
This recipe is incredibly flexible. Hosting a party? Serve them on a dessert board. Need something for a potluck? Pack them in a simple box. Want a romantic date-night dessert? Plate them with strawberries and a touch of whipped cream. They can be baked in mini cupcake liners, silicone molds, or even as bars if you prefer to slice them. You can even tweak the flavoring—add a hint of orange zest or a splash of vanilla bean paste to the cheesecake center for a personalized touch.
Affordable
The ingredients are pantry staples—nothing fancy, expensive, or hard to find. You’ll use basic baking items like flour, sugar, cocoa powder, eggs, and cream cheese. No need for special tools either. A simple hand mixer and a baking tray are more than enough to bring these delights to life. It’s one of those recipes where you get an elegant, bakery-quality dessert without splurging on niche ingredients.
Ingredients for the Recipe
Here’s what you’ll need to make a batch of these Red Velvet Cheesecake Bites:
For the red velvet cake base:
-
1 cup all-purpose flour
-
2 tablespoons unsweetened cocoa powder
-
1/2 teaspoon baking soda
-
1/4 teaspoon salt
-
1/2 cup sugar
-
1/2 cup vegetable oil
-
1 large egg
-
1/2 cup buttermilk
-
1 teaspoon white vinegar
-
1 teaspoon vanilla extract
-
Red food coloring (gel or liquid, to preference)
For the cheesecake filling:
-
8 oz cream cheese, softened
-
1/4 cup sugar
-
1/2 teaspoon vanilla extract
-
1 egg yolk
How to Prepare This Recipe
When it comes to desserts that impress with minimal effort, these Red Velvet Cheesecake Bites are a standout. The steps are straightforward, and the result is a beautiful, bakery-style treat that feels both festive and indulgent. You won’t need advanced baking skills or fancy equipment—just your usual kitchen basics and a little patience while the magic happens in the oven.
Step-by-Step Instructions for Preparation
Step 1: Preheat and Prepare
Start by preheating your oven to 175°C (350°F). Line a mini muffin tin with paper liners or lightly grease a silicone mold. This will help you easily remove the bites after baking and ensure even cooking.
Step 2: Mix the Red Velvet Base
In a medium bowl, whisk together the flour, cocoa powder, baking soda, and salt. In a separate large mixing bowl, combine the sugar and vegetable oil, mixing until smooth. Add the egg, then pour in the buttermilk, vinegar, vanilla extract, and red food coloring. Stir well to incorporate all the liquids.
Gradually add the dry ingredients to the wet mixture, stirring gently until no flour streaks remain. The batter should be smooth and slightly thick, with a rich red hue.
Step 3: Prepare the Cheesecake Filling
In a clean bowl, beat the softened cream cheese until smooth. Add in the sugar, vanilla extract, and egg yolk, mixing until everything is well combined. The filling should be creamy, soft, and easy to spoon.
Step 4: Assemble the Bites
Spoon about a tablespoon of red velvet batter into each mini muffin cup, filling each cavity about halfway. Then, place a teaspoon of cheesecake filling right in the center. You can lightly swirl the top with a toothpick for a marbled effect or leave it as is for a striking red-and-white contrast.
Step 5: Bake and Cool
Bake the bites in the preheated oven for 13–15 minutes, or until the edges are set and the cheesecake looks slightly firm. Avoid overbaking—the centers will continue to firm up as they cool.
Remove from the oven and allow the bites to cool in the tin for 10 minutes. Then transfer them to a wire rack to cool completely. For best results, chill them in the refrigerator for 30 minutes before serving.
Quick and Easy
These bites come together in just under an hour, including bake and cooling time. There’s no complicated layering, frosting, or decorating involved. The hardest part is waiting for them to chill before eating! They’re ideal for busy bakers who want to create something special without spending the entire afternoon in the kitchen.
Customizable
You can absolutely make this recipe your own. Want more richness? Add chocolate chips to the batter. Prefer a fruity twist? Swirl in a spoonful of raspberry jam alongside the cheesecake center. You can even use natural food coloring if you prefer to avoid artificial dyes. The base flavor of red velvet pairs well with many extras, so feel free to experiment.
For those with dietary preferences, you can swap the buttermilk for a dairy-free version and use lactose-free cream cheese for the filling. Gluten-free flour blends also work well in place of traditional flour with minimal texture change.
Popular with Many People
These Red Velvet Cheesecake Bites are always a hit. I’ve taken them to family gatherings, office parties, and even sold them at local markets—each time, they disappear within minutes. The blend of velvety cake and creamy filling appeals to a wide range of palates, from kids to adults. Their size also makes them approachable, especially for those who want just a taste of something sweet without committing to a large slice.
Whether you’re baking for a celebration or just to satisfy your own cravings, these bites deliver both flavor and visual appeal. They store well and travel easily, which makes them a great option for sharing. Just pack them in a box or container and watch how quickly they become the star of the dessert table.
Print
Red Velvet Cheesecake Bites – Creamy & Irresistible
These Red Velvet Cheesecake Bites combine the soft, rich flavor of red velvet cake with a creamy cheesecake center. They’re perfect for parties, gift boxes, or as a bite-sized indulgence anytime. Easy to make and impressive to serve, they’re a reliable favorite.
- Total Time: 35 minutes
- Yield: 24 1x
Ingredients
For the red velvet cake batter:
- 1 cup all-purpose flour
- 2 tablespoons unsweetened cocoa powder
- 1/2 teaspoon baking soda
- 1/4 teaspoon salt
- 1/2 cup sugar
- 1/2 cup vegetable oil
- 1 large egg
- 1/2 cup buttermilk
- 1 teaspoon white vinegar
- 1 teaspoon vanilla extract
- Red food coloring (gel or liquid, as preferred)
For the cheesecake filling:
- 8 oz cream cheese, softened
- 1/4 cup sugar
- 1/2 teaspoon vanilla extract
- 1 egg yolk
Instructions
- Preheat Oven:
Preheat your oven to 175°C (350°F). Line a mini muffin tin with paper liners or lightly grease a silicone mold to prevent sticking. - Make the Red Velvet Batter:
In a medium bowl, whisk together flour, cocoa powder, baking soda, and salt.
In a large mixing bowl, stir sugar and vegetable oil until blended.
Add the egg, then whisk in buttermilk, white vinegar, vanilla extract, and red food coloring.
Gradually incorporate the dry ingredients into the wet mixture. Mix until the batter is smooth and evenly colored. - Prepare the Cheesecake Filling:
In a separate bowl, beat softened cream cheese until smooth.
Add sugar, vanilla extract, and the egg yolk. Beat until fully combined and creamy. - Assemble the Bites:
Spoon about 1 tablespoon of red velvet batter into each mini muffin cup, filling halfway.
Add 1 teaspoon of cheesecake filling on top of the red velvet base.
Optionally, swirl gently with a toothpick for a marbled look. - Bake:
Bake in the preheated oven for 13–15 minutes, or until the edges are firm and the centers slightly jiggle.
Do not overbake—the centers will set as they cool. - Cool and Chill:
Let the bites cool in the pan for 10 minutes.
Transfer to a wire rack and cool completely.
For best texture, refrigerate the bites for at least 30 minutes before serving.
Notes
Use gel food coloring for a more vibrant red hue.
Chill the cheesecake filling briefly if it becomes too soft during assembly.
For a neater finish, use a piping bag for the cheesecake layer.
These bites freeze well—store in airtight containers for up to 2 months.
- Prep Time: 20
- Cook Time: 15
FAQs
Can I make these ahead of time?
Yes, these bites are perfect for preparing in advance. You can store them in the refrigerator for up to 5 days. For longer storage, freeze them in an airtight container for up to 2 months. Thaw overnight in the fridge before serving.
Do I need to use buttermilk?
Buttermilk adds a slight tang and helps keep the red velvet base tender. If you don’t have it on hand, mix 1/2 cup of milk with 1/2 tablespoon of vinegar or lemon juice and let it sit for 5 minutes as a substitute.
Can I bake this recipe in a regular muffin tin or as bars?
Absolutely. If you prefer larger portions, use a standard muffin tin—just increase the baking time by 3–5 minutes and check for doneness. You can also pour the batter and filling into an 8-inch square pan, bake as bars, and slice them once cooled.
How do I keep the cheesecake center from sinking?
Make sure not to overfill the cups with red velvet batter. The cheesecake filling should sit gently on top of the batter. Also, avoid opening the oven door during the first 10 minutes of baking to ensure the bites set evenly.
Can I use natural food coloring instead of artificial red dye?
Yes, natural red food coloring made from beet juice or other vegetable-based options can be used. However, the final color may be less vibrant than with traditional red dye, but the taste will remain just as delightful.
What’s the best way to swirl the cheesecake for a marbled effect?
Use a toothpick or the tip of a knife and gently swirl the cheesecake layer into the top of the red velvet batter before baking. Avoid overmixing to preserve the contrast between colors.