

From the moment I first made this chocolate pudding, I knew it would become a favorite in my kitchen. There’s something magical about the way rich, velvety chocolate melts into a creamy base, creating a dessert that feels indulgent yet comforting. Over the years, I’ve experimented with many chocolate desserts, but this pudding stands out for its simplicity and elegance. Every spoonful feels like a small celebration, making it perfect for quiet nights at home or as a show-stopping finale for dinner parties.
You will love this recipe because it delivers deep chocolate flavor without requiring complicated techniques or hard-to-find ingredients. The pudding’s smooth texture and luscious taste appeal to chocolate lovers of all ages. Unlike some desserts that can feel heavy or overly sweet, this pudding strikes the perfect balance, leaving you satisfied but never overwhelmed. Its classic charm also makes it a crowd-pleaser, ideal for both casual family gatherings and festive occasions.
One of the best things about this chocolate pudding is its versatility. You can serve it warm for cozy winter evenings or chilled on hot summer days. It pairs beautifully with fresh berries, a dollop of whipped cream, or even a sprinkle of crushed cookies for added texture. Additionally, it can be portioned into individual cups for elegant presentation or made in a larger dish for sharing.
Despite its luxurious flavor, this recipe is surprisingly affordable. With just a few basic ingredients from your pantry, you can create a dessert that feels gourmet without the high cost. It’s a perfect example of how simple ingredients, when combined thoughtfully, can produce a truly memorable treat.
Ingredients for Chocolate Pudding:
-
2 cups whole milk
-
1/2 cup granulated sugar
-
1/4 cup unsweetened cocoa powder
-
3 tablespoons cornstarch
-
1/4 teaspoon salt
-
3 large egg yolks
-
2 tablespoons unsalted butter
-
1 teaspoon pure vanilla extract
-
Optional toppings: whipped cream, fresh berries, chocolate shavings
This chocolate pudding recipe is my go-to dessert when I want something comforting, quick, and undeniably delicious. It’s a testament to the fact that the simplest ingredients can create the most satisfying results.
How to Prepare Chocolate Pudding
Making this chocolate pudding is easier than it looks, and the process is incredibly rewarding. The key is patience and attention to detail, ensuring every step contributes to a silky, smooth texture that melts in your mouth. This recipe is perfect for both beginners and experienced bakers because it combines simple ingredients with straightforward techniques, yet the result feels indulgent and impressive.
Step-by-Step Instructions:
-
Combine dry ingredients
In a medium saucepan, whisk together the granulated sugar, unsweetened cocoa powder, cornstarch, and salt. Mixing the dry ingredients first helps prevent lumps and ensures the pudding has a consistent texture. -
Add milk gradually
Slowly pour in the whole milk while continuously whisking. This step is crucial to avoid clumping. Keep whisking until the mixture is smooth and evenly combined. -
Heat the mixture
Place the saucepan over medium heat. Stir constantly to prevent the milk from scorching. Gradually, the mixture will start to thicken as it heats, transforming into a rich, chocolatey base. -
Temper the egg yolks
In a small bowl, lightly beat the egg yolks. Slowly add a few spoonfuls of the hot chocolate mixture to the yolks while whisking constantly. This step prevents the eggs from scrambling when added to the hot mixture. -
Incorporate the eggs
Pour the tempered egg yolks back into the saucepan. Continue stirring over medium heat for 2–3 minutes until the pudding thickens further and reaches a creamy consistency. -
Add butter and vanilla
Remove the saucepan from heat. Stir in the unsalted butter and vanilla extract until fully incorporated. This enhances the flavor and adds extra creaminess to the pudding. -
Cool and set
Pour the pudding into individual serving dishes or a large bowl. Cover each dish with plastic wrap, pressing it directly onto the surface of the pudding to prevent a skin from forming. Refrigerate for at least 2 hours before serving.
Quick and Easy Tips:
-
Use a whisk continuously while cooking to ensure a smooth texture.
-
Adjust the sweetness by slightly increasing or decreasing sugar to taste.
-
For a fun twist, swirl in caramel or sprinkle with cocoa powder before serving.
This pudding is highly customizable. You can layer it with crushed cookies, top it with whipped cream, or even drizzle a little chocolate syrup. Its versatility makes it ideal for birthdays, family dinners, or simply a comforting treat after a long day.
Why Everyone Loves It:
Its creamy texture, rich chocolate flavor, and simple preparation make this pudding a hit with adults and children alike. Once you make it, you’ll find it’s requested again and again because it’s that satisfying.
Print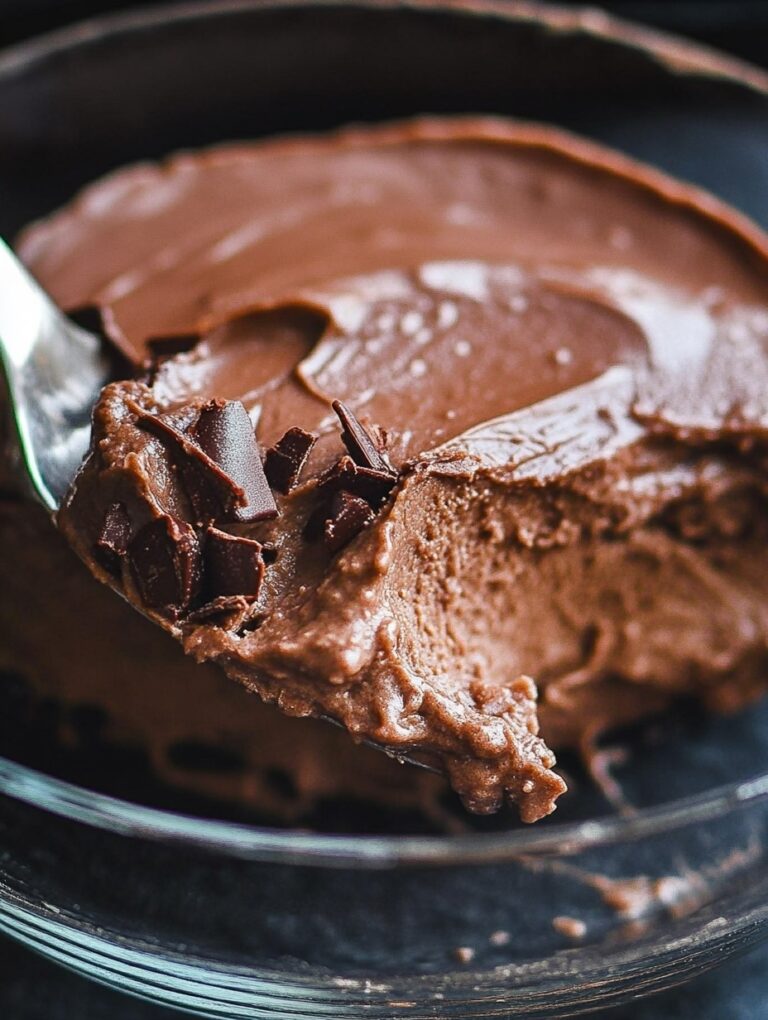
CHOCOLATE PUDDING No nuts, no avocado, no tofu!
This chocolate pudding is a rich, creamy dessert that’s easy to make and loved by everyone. Perfect for any occasion, it combines simple ingredients to create a smooth, indulgent treat that can be served warm or chilled.
- Total Time: 20 minutes
- Yield: 4 1x
Ingredients
- 2 cups whole milk
- 1/2 cup granulated sugar
- 1/4 cup unsweetened cocoa powder
- 3 tablespoons cornstarch
- 1/4 teaspoon salt
- 3 large egg yolks
- 2 tablespoons unsalted butter
- 1 teaspoon pure vanilla extract
- Optional toppings: whipped cream, fresh berries, chocolate shavings
Instructions
- Whisk together sugar, cocoa powder, cornstarch, and salt in a medium saucepan.
- Gradually add milk while whisking to create a smooth mixture.
- Heat over medium heat, stirring constantly until it begins to thicken.
- Beat the egg yolks in a small bowl, then temper by adding a few spoonfuls of the hot mixture slowly while whisking.
- Pour the tempered yolks back into the saucepan and cook for 2–3 minutes until the pudding thickens further.
- Remove from heat and stir in butter and vanilla extract until fully incorporated.
- Pour pudding into serving dishes and cover with plastic wrap directly on the surface to prevent skin formation.
- Refrigerate for at least 2 hours before serving.
Notes
Use continuous whisking to ensure a smooth texture.
Customize with toppings like whipped cream, berries, or chocolate shavings.
For a richer flavor, add a small pinch of espresso powder to the cocoa mixture.
- Prep Time: 10
- Cook Time: 10
Frequently Asked Questions (FAQs)
1. Can I make this chocolate pudding dairy-free?
Yes, you can substitute the whole milk with almond milk, oat milk, or any other plant-based milk. Keep in mind the flavor will slightly change, but the texture remains creamy.
2. How long does the pudding last in the refrigerator?
When stored in an airtight container, this chocolate pudding stays fresh for up to 4 days. Always cover it directly with plastic wrap to prevent a skin from forming.
3. Can I make this pudding ahead of time?
Absolutely. You can prepare it a day in advance and refrigerate it. It actually tastes even better after chilling, as the flavors fully develop.
4. How do I fix lumpy pudding?
If your pudding becomes lumpy, remove it from heat and whisk vigorously. For stubborn lumps, pass the pudding through a fine mesh sieve before chilling.
5. Can I add toppings or mix-ins?
Yes! Whipped cream, chocolate shavings, fresh berries, or even a layer of cookie crumbs can enhance the pudding. Just add them before serving for best results.
6. Can I use this recipe to make a baked chocolate pudding?
This recipe is specifically for stovetop pudding. If you want a baked version, adjustments to the liquid and cooking method are necessary, but the flavor base remains excellent.