
A Short Story About the Recipe
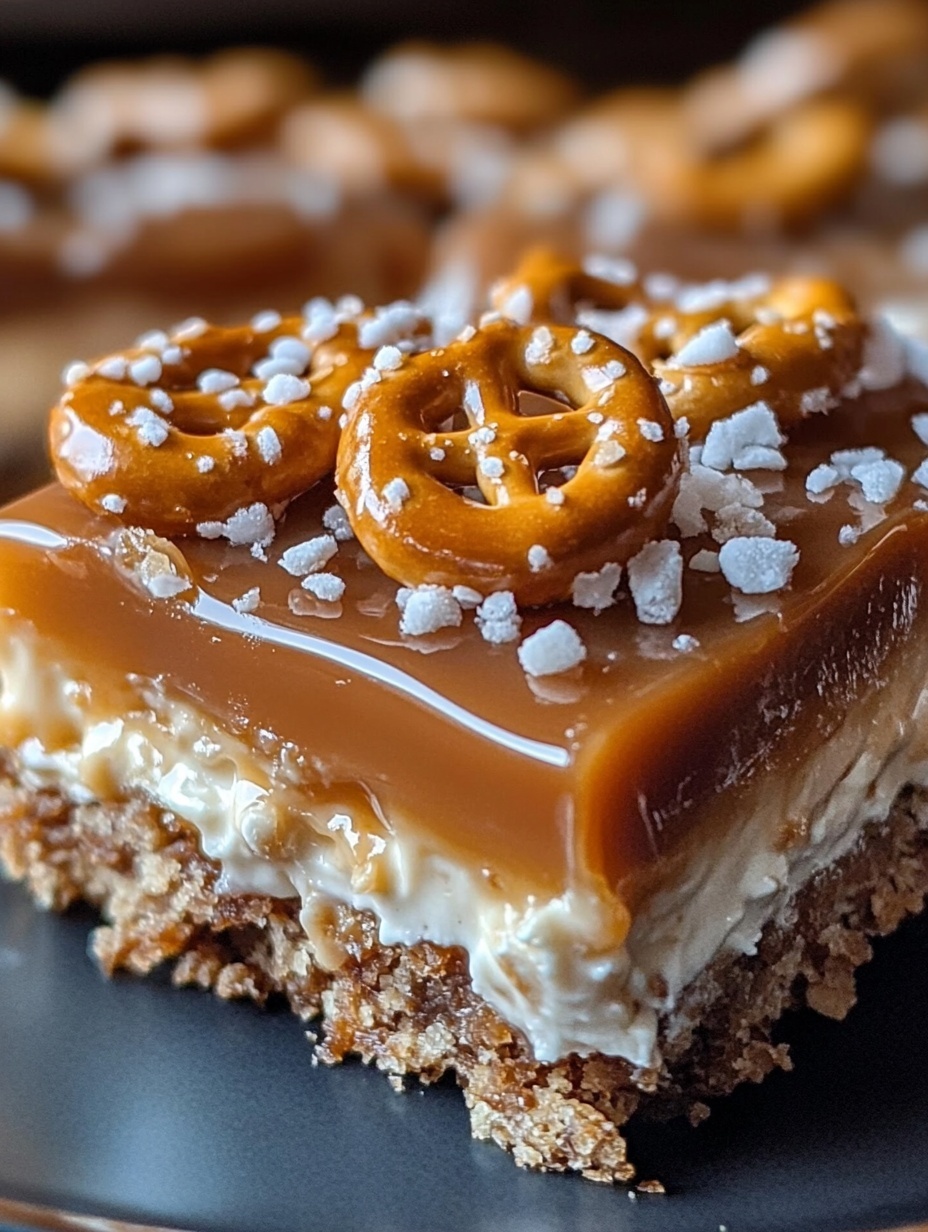
There are days in my kitchen when I crave something sweet, crunchy, and completely irresistible — but I don’t want to turn on the oven. That’s exactly how these No-Bake Salted Caramel Pretzel Bars were born. I still remember the first time I made them; it was a hot afternoon, and I wanted a dessert that was both indulgent and refreshing. The combination of salty pretzels, buttery caramel, and smooth chocolate was an instant hit. Every layer adds a new texture, from the crisp base to the gooey middle and glossy top — it’s a no-bake dream come true.
As a baker, I love recipes that deliver maximum flavor with minimum effort. These bars check every box. They’re simple to prepare, don’t require any baking time, and still look like a treat you’d find in a bakery window. They’re one of those recipes that make you say, “Wow, did I really make that?”
Why You Will Love This Recipe
You’ll fall in love with these No-Bake Salted Caramel Pretzel Bars because they’re rich, crunchy, and incredibly satisfying. The perfect balance of sweet and salty makes them addictive — one bite leads to another. They’re ideal for every occasion, from quick desserts to party trays or even lunchbox treats. Plus, the no-bake method saves time and keeps your kitchen cool.
Versatile
What I adore most about this recipe is how versatile it is. You can easily switch the pretzels for crushed biscuits or swap the chocolate for white or milk chocolate. Want to add some nuts or drizzle a bit of extra caramel on top? Go for it! These bars allow you to get creative without changing the essence of the recipe.
Affordable
Another great thing is how budget-friendly these bars are. They use everyday ingredients that are easy to find and affordable. A handful of pretzels, a bit of butter, some caramel, and a layer of chocolate — that’s all it takes to make a dessert that looks and tastes luxurious.
Ingredients for the Recipe
-
Salted pretzels
-
Butter
-
Brown sugar
-
Sweetened condensed milk
-
Chocolate chips (milk or dark)
-
Sea salt flakes
How to Prepare This Recipe
When I make these No-Bake Salted Caramel Pretzel Bars, I always start by preparing the base. The key is to have everything ready before you begin assembling because once the caramel is warm and smooth, you’ll want to work quickly. The entire recipe comes together in layers, each one more tempting than the last.
Step-by-Step Instructions for Preparation
Step 1: Prepare the base
Start by lining an 8×8-inch (20×20 cm) square pan with parchment paper. Make sure to leave some paper hanging over the edges — it will make lifting the bars out much easier later. Then, crush your salted pretzels into small pieces. You can use a rolling pin or a food processor, but avoid turning them into fine crumbs; you want small chunks for that crunchy texture.
Melt butter in a small saucepan over low heat, then pour it over the crushed pretzels in a mixing bowl. Stir well to coat every piece. Press this mixture firmly into the bottom of the prepared pan to form the base. Use the back of a spoon to flatten it evenly. Place the pan in the refrigerator to chill while you prepare the caramel layer.
Step 2: Make the caramel layer
In a medium saucepan, combine brown sugar, butter, and sweetened condensed milk. Heat the mixture over medium heat while stirring constantly. Once the butter melts and the mixture begins to bubble, reduce the heat slightly and continue stirring for about 6 to 8 minutes, until the caramel thickens and turns golden brown.
This step is essential — stirring helps prevent the caramel from sticking or burning. When it’s ready, pour the hot caramel evenly over the chilled pretzel base. Spread it gently with a spatula, making sure every corner is covered. Return the pan to the refrigerator and let it cool for at least 30 minutes, or until the caramel sets.
Step 3: Add the chocolate topping
Now it’s time for the best part — the chocolate layer. Melt chocolate chips in a heatproof bowl set over simmering water (double boiler method) or in short bursts in the microwave. Stir until smooth and glossy. Pour the melted chocolate over the chilled caramel layer and spread it evenly.
Before the chocolate hardens completely, sprinkle a few sea salt flakes over the top. That touch of salt enhances the sweetness of the caramel and gives the bars their irresistible salty-sweet balance. Place the pan back in the refrigerator for another 30 to 45 minutes, or until fully set.
Step 4: Slice and serve
Once everything is firm, lift the bars out of the pan using the parchment paper edges. Transfer them to a cutting board and use a sharp knife to slice them into squares or bars. For clean cuts, warm your knife slightly and wipe it between each slice.
The result is a perfect combination of creamy, crunchy, and chewy layers — every bite feels indulgent but not overly heavy.
Quick and Easy
What makes these bars so convenient is that they require no oven, no mixer, and minimal effort. You can prepare them in less than 30 minutes (plus chilling time), and they’ll look like you spent hours making them. They’re great for last-minute desserts or when you need a treat that looks impressive without much work.
Customizable
These bars are incredibly customizable, which makes them one of my go-to no-bake recipes. You can replace the pretzel base with graham crackers or digestive biscuits if you prefer a softer crunch. If you love extra caramel, simply double the caramel layer for a richer flavor.
You can also experiment with toppings — drizzle white chocolate for a marbled effect, sprinkle crushed nuts, or add a few chocolate chips on top before chilling. For a festive touch, you can even use colorful sprinkles during holidays.
Popular with Many People
Whenever I serve these No-Bake Salted Caramel Pretzel Bars, they disappear quickly. Everyone loves them — kids enjoy the crunchy chocolate layers, while adults appreciate the contrast of flavors. They’re a guaranteed crowd-pleaser at potlucks, parties, and family gatherings. The best part is that they travel well and stay fresh for several days in the refrigerator.
These bars prove that you don’t need an oven or complicated tools to make something truly delicious. Every layer tells a story — buttery pretzels at the base, soft golden caramel in the middle, and a rich chocolate topping with a sprinkle of sea salt to finish.
It’s the perfect dessert to satisfy both your sweet and salty cravings, and once you try it, it’ll become one of those recipes you’ll keep coming back to.
Print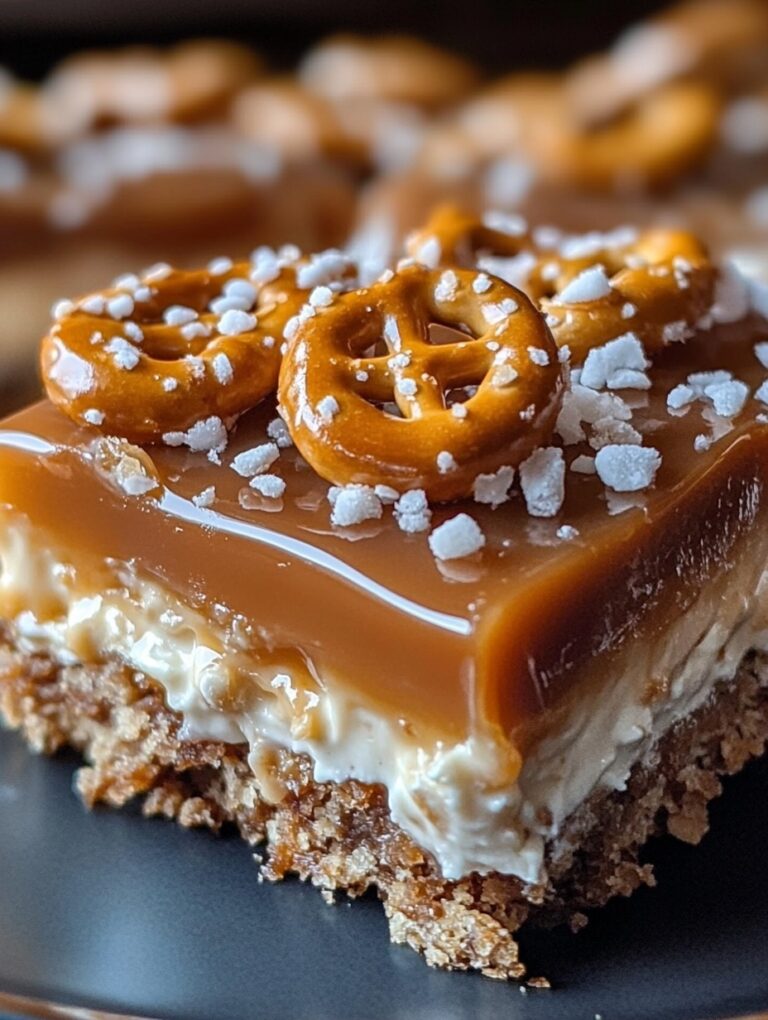
Irresistible No-Bake Salted Caramel Pretzel Bars: Sweet & Salty Bliss in Every Bite
These No-Bake Salted Caramel Pretzel Bars combine crunchy pretzels, rich caramel, and smooth chocolate for a perfect sweet-and-salty treat. They’re quick to prepare, completely no-bake, and perfect for parties, snacks, or dessert tables.
- Total Time: 23 minutes
- Yield: 16 1x
Ingredients
- 2 cups salted pretzels, crushed
- 1/2 cup (115 g) unsalted butter
- 1 cup (200 g) brown sugar
- 1 can (14 oz / 396 g) sweetened condensed milk
- 1 1/2 cups chocolate chips (milk or dark)
- 1 tsp sea salt flakes
Instructions
- Prepare the pan: Line an 8×8-inch (20×20 cm) square pan with parchment paper, leaving extra edges for lifting the bars later.
- Make the base: Crush salted pretzels into small pieces. Melt butter and combine with pretzels. Press mixture firmly into the pan and refrigerate.
- Prepare the caramel: In a saucepan, combine butter, brown sugar, and sweetened condensed milk. Cook over medium heat, stirring constantly, for 6–8 minutes until golden and thickened.
- Add the caramel layer: Pour hot caramel over the chilled pretzel base. Spread evenly and refrigerate for 30 minutes to set.
- Prepare the chocolate layer: Melt chocolate chips until smooth. Pour over the set caramel layer and spread evenly. Sprinkle with sea salt flakes.
- Chill and set: Refrigerate for 30–45 minutes until firm.
- Slice and serve: Lift bars using parchment edges and cut into squares. For clean cuts, warm the knife slightly and wipe between slices.
Notes
Ensure caramel is stirred constantly to avoid burning.
For extra crunch, use pretzel sticks or add nuts to the base.
Bars can be customized with white chocolate drizzle or additional toppings.
- Prep Time: 15
- Cook Time: 8
FAQs
Q: Can I make these bars ahead of time?
Absolutely! These bars keep well in the refrigerator for up to 5 days. You can even make them a day or two in advance, which makes them perfect for parties or meal prep. Just keep them in an airtight container to maintain their texture.
Q: Can I freeze these bars?
Yes, you can. Wrap individual bars in plastic wrap and store them in a freezer-safe container for up to 2 months. To enjoy, let them thaw in the refrigerator for a few hours before serving.
Q: Can I use low-sugar or sugar-free ingredients?
You can substitute sugar-free or reduced-sugar alternatives for brown sugar and chocolate chips, but keep in mind the texture and flavor may vary slightly.
Q: Can I use other types of pretzels?
Yes! While salted pretzels provide the classic salty-sweet contrast, you can experiment with unsalted pretzels, pretzel sticks, or even crushed graham crackers for a softer base.
Q: How can I make the caramel layer thicker or thinner?
For a thicker layer, cook the caramel a few minutes longer until it reaches the desired consistency. For a thinner layer, slightly reduce the cooking time. Make sure to pour it over a fully chilled base to prevent it from soaking in.
Q: Can I add nuts or other toppings?
Definitely! Chopped pecans, almonds, or even a drizzle of white chocolate work beautifully. Add them on top of the chocolate layer before it sets for extra flavor and texture.