
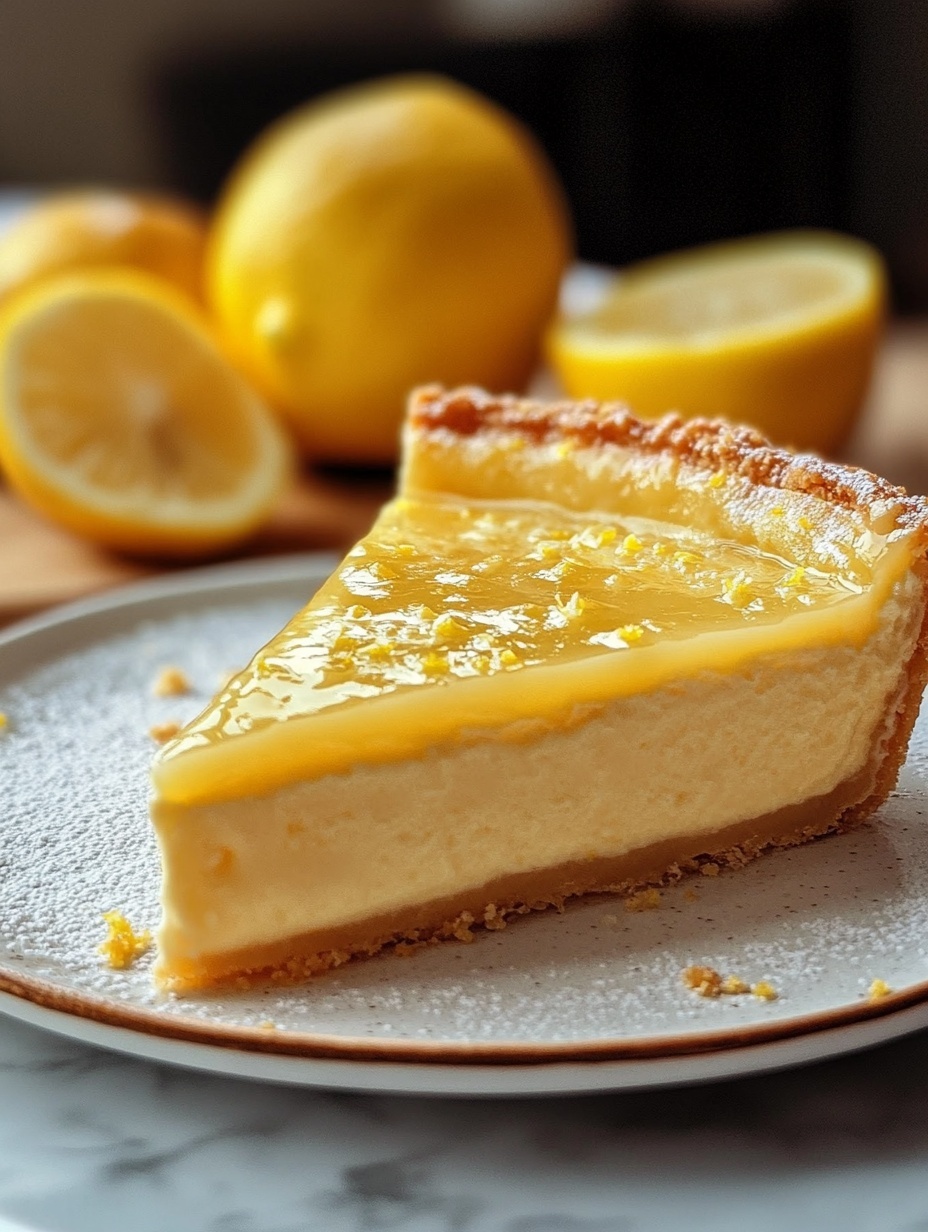
There’s something incredibly satisfying about whipping up a dessert that’s not only bursting with flavor but also easy to prepare and clean up. I still remember the first time I made this one-bowl lemon dessert – it was a last-minute idea for a family dinner, and I didn’t want to spend hours in the kitchen. With a handful of ingredients and just one bowl to mix everything in, I had a beautiful, tangy, and soft dessert ready in no time. The lemony aroma that filled my kitchen was enough to make everyone excited before it even came out of the oven.
What makes this dessert even more special is knowing that it’s one of Paul Hollywood’s favorites. And honestly, once you try it, you’ll understand why. It has the perfect balance of sweetness and citrus brightness. It’s light, moist, and comforting – everything you could ask for in a lemon treat. I love how it manages to feel both simple and elegant at the same time, which makes it ideal for both casual evenings and special occasions.
Why You Will Love This Recipe
This recipe is one of those rare gems that delivers maximum flavor with minimum effort. You’ll love the moist, buttery crumb and the zingy lemon that comes through with every bite. It’s a real crowd-pleaser – kids love it for the sweet and citrusy taste, while adults appreciate the light texture and the fact that it’s not overly rich.
It’s also wonderfully versatile. You can serve it as-is, dusted with a bit of powdered sugar, or dress it up with a dollop of whipped cream, lemon glaze, or even fresh berries. It’s perfect for brunches, tea time, lunchboxes, or just a simple dessert after dinner.
Versatile
What’s truly great is how adaptable this lemon dessert is. You can tweak it by adding poppy seeds for extra texture, folding in blueberries for a fruity twist, or even topping it with a light lemon icing if you want a more indulgent finish. And since it’s a one-bowl recipe, the clean-up is minimal – ideal for busy weekdays.
Affordable
One of the best parts about this dessert is how budget-friendly it is. All the ingredients are pantry staples, which means no fancy or hard-to-find items. You won’t have to spend extra money to impress – just a few simple items combine to create something truly delicious.
Ingredients for the Recipe:
-
Unsalted butter
-
Granulated sugar
-
Eggs
-
Fresh lemons (for juice and zest)
-
All-purpose flour
-
Baking powder
-
Salt
-
Milk
-
Optional: Powdered sugar (for dusting), lemon glaze, or whipped cream
How to Prepare This Recipe
One of the main reasons I return to this lemon dessert time and again is its simplicity. The process is refreshingly straightforward – everything comes together in a single bowl, making the preparation stress-free and the cleanup effortless. It’s the kind of recipe that makes you feel good in the kitchen – no overthinking, no fancy equipment, and no complicated techniques. Just classic, home-style baking.
Let’s walk through it step-by-step, so you can see just how quick and easy it is to bring this dessert to life.
Step-by-Step Instructions for Preparation
Step 1: Prepare your ingredients and preheat the oven
Begin by preheating your oven to 175°C (350°F). Grease and line an 8-inch (20 cm) square or round baking pan with parchment paper. This helps the dessert bake evenly and makes removing it from the pan simple later on.
Step 2: Cream the butter and sugar
In a large mixing bowl, add the softened unsalted butter and granulated sugar. Use a hand mixer or a wooden spoon to cream them together until the mixture becomes light and fluffy. This step gives the final dessert its soft, tender texture.
Step 3: Add the eggs one at a time
Crack in the eggs, one at a time, mixing well after each addition. This ensures that the eggs are fully incorporated, creating a smooth and velvety batter base.
Step 4: Add the lemon zest and juice
Grate the zest of 1–2 fresh lemons directly into the bowl, followed by the juice. This is where the bright lemon flavor really starts to shine. Stir to combine.
Step 5: Incorporate the dry ingredients
Sift in the all-purpose flour, baking powder, and a pinch of salt. Stir gently to avoid overmixing – just enough to combine everything into a smooth batter.
Step 6: Pour in the milk
Add the milk to loosen the batter slightly, making it smoother and easier to pour into the baking pan. Mix until just combined.
Step 7: Pour and level
Transfer the batter into your prepared baking pan. Use a spatula to spread it evenly and smooth the top.
Step 8: Bake
Place the pan in the preheated oven and bake for around 30–35 minutes. You’ll know it’s done when the top is golden and a toothpick inserted in the center comes out clean.
Step 9: Cool and finish
Once baked, allow the dessert to cool in the pan for 10–15 minutes. Then transfer it to a wire rack to cool completely. Optionally, dust with powdered sugar or drizzle with a light lemon glaze for added charm.
Quick and Easy
From start to finish, this recipe takes very little effort. The fact that it all happens in one bowl makes it especially manageable on busy days. You won’t need a stand mixer or even a sifter – just basic kitchen tools and a bit of time.
It’s also a wonderful option when you’re hosting and want something dependable that still impresses. Whether served warm with cream or chilled with tea, it works every time.
Customizable
Another beautiful thing about this lemon dessert is how easy it is to customize it. Want more texture? Add a tablespoon of poppy seeds or shredded coconut. Prefer a little extra fruitiness? Fold in some fresh raspberries or blueberries before baking. You can even substitute the milk with almond or oat milk for a dairy-free version.
Try cutting it into small squares and serving it like snack bars, or double the recipe for a larger crowd. You can even turn it into cupcakes – just reduce the baking time.
Popular With Many People
Whenever I’ve served this dessert – whether at family gatherings, bake sales, or casual get-togethers – I’ve always gotten requests for the recipe. It appeals to a wide range of tastes because it’s light, flavorful, and not overly sweet. Even people who don’t usually like lemon desserts find this one refreshing and delightful.
In short, it’s a fail-proof, flexible recipe that never lets me down and always gets rave reviews. You’re going to love baking it just as much as you enjoy eating it.
Print
This One-Bowl Lemon Dessert: Paul Hollywood’s Favorite
This simple, bright, and moist lemon dessert is a one-bowl wonder that’s inspired by one of Paul Hollywood’s favorite treats. It’s quick to prepare, easy to clean up, and perfect for any occasion – from casual family dinners to elegant tea-time servings. Made with pantry staples and fresh lemon, it delivers maximum flavor with minimal effort.
- Total Time: 50 minutes
- Yield: 10 1x
Ingredients
- 120g unsalted butter, softened
- 180g granulated sugar
- 2 large eggs
- Zest of 2 lemons
- 60ml fresh lemon juice (about 2 lemons)
- 200g all-purpose flour
- 2 tsp baking powder
- 1/4 tsp salt
- 120ml milk
- Optional: Powdered sugar for dusting or light lemon glaze
Instructions
- Preheat your oven to 175°C (350°F). Grease and line an 8-inch (20 cm) square or round baking pan with parchment paper.
- In a large bowl, cream the softened butter and granulated sugar until light and fluffy.
- Add the eggs, one at a time, beating well after each addition to incorporate fully.
- Add the lemon zest and juice to the bowl. Stir well to combine.
- Sift in the flour, baking powder, and salt. Mix gently until just combined.
- Pour in the milk and stir again until smooth and evenly blended.
- Pour the batter into the prepared baking pan and smooth the top.
- Bake in the preheated oven for 30–35 minutes, or until the top is lightly golden and a toothpick inserted into the center comes out clean.
- Let it cool in the pan for 10–15 minutes. Then remove and place on a wire rack to cool completely.
- Dust with powdered sugar or drizzle with lemon glaze if desired. Slice and serve.
Notes
Do not overmix the batter after adding the flour to keep the dessert soft and fluffy.
Fresh lemon zest is essential – it provides aroma and extra lemon flavor.
You can double the recipe and bake it in a 9×13 inch pan for a crowd.
If using plant-based milk or butter, texture may vary slightly but will still be moist.
- Prep Time: 15
- Cook Time: 35
FAQs
Can I make this lemon dessert ahead of time?
Absolutely. This dessert keeps very well. You can bake it a day in advance and store it covered at room temperature. The flavors actually deepen slightly overnight, making it even more delicious the next day.
How should I store leftovers?
Once completely cooled, store the lemon dessert in an airtight container at room temperature for up to 3 days. For longer storage, you can refrigerate it for up to 5 days or freeze it for up to 2 months. If freezing, wrap it tightly in plastic wrap and foil to prevent drying out.
Can I make this recipe dairy-free?
Yes, it’s easy to make this lemon dessert dairy-free. Simply substitute the butter with a plant-based alternative and use your favorite non-dairy milk like almond, soy, or oat milk. The result is still wonderfully moist and full of lemon flavor.
Can I use bottled lemon juice instead of fresh lemons?
While bottled lemon juice works in a pinch, I always recommend using fresh lemons. The zest adds an irreplaceable depth of flavor and fragrance that bottled juice can’t replicate. For the best taste, stick to fresh.
Can I turn this into cupcakes or a loaf cake?
Yes, the batter is quite adaptable. For cupcakes, divide it among lined muffin tins and bake for 18–20 minutes. For a loaf cake, pour it into a greased loaf pan and bake for 40–45 minutes. Always check with a toothpick to ensure it’s baked through.