
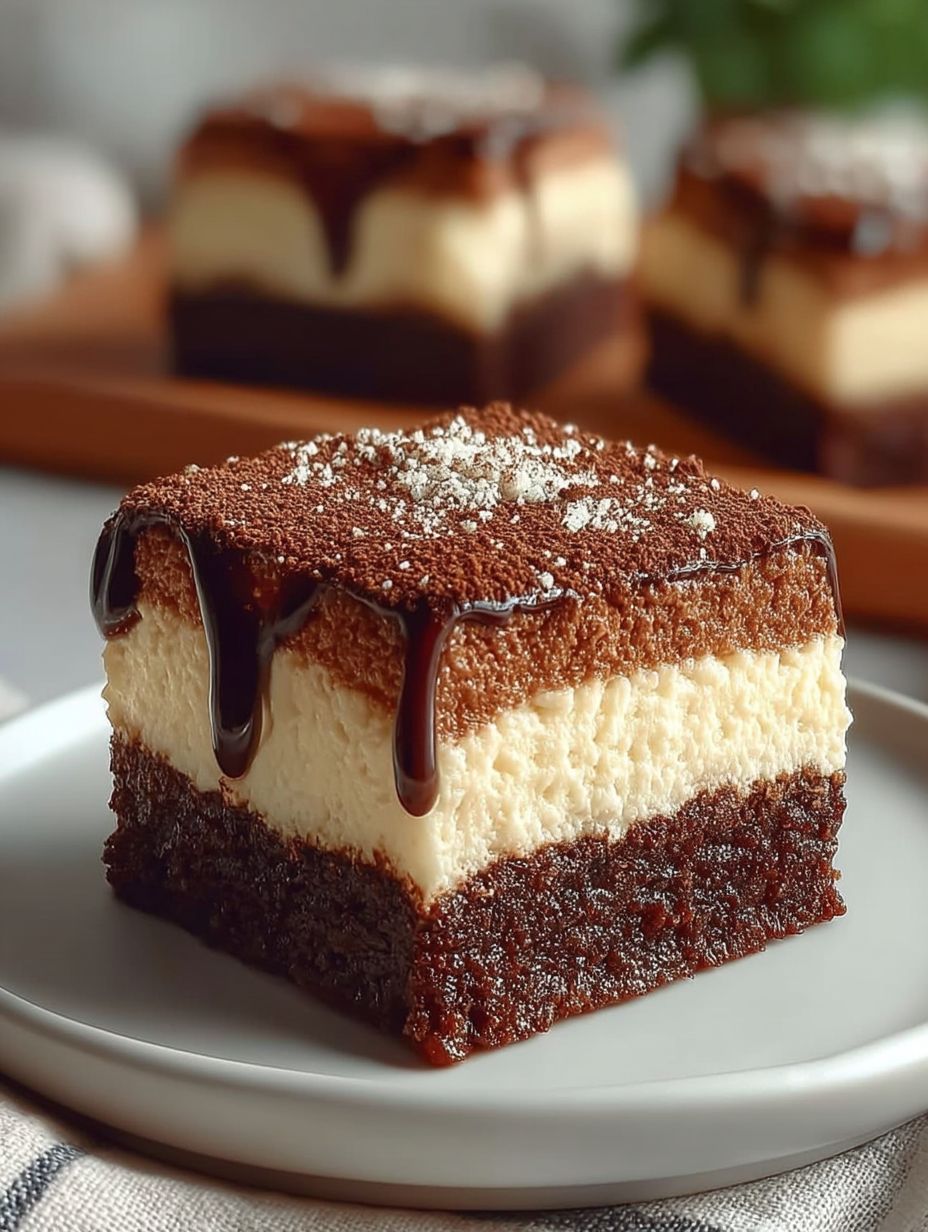
Imagine biting into a fudgy brownie that’s infused with the rich flavors of coffee and cocoa, layered with a creamy mascarpone filling that dances on your tongue. Each bite is a delightful symphony of textures and tastes that leaves you craving more.
I remember the first time I tried to impress my friends with my baking skills. I decided to make Tiramisu for dessert but ended up with a messy kitchen and a cake that could double as a paperweight. So, I thought, why not combine my love for brownies with the classic tiramisu flavors? Voilà! Tiramisu Brownies were born, and let me tell you, they were an instant hit – no heavy lifting required!
Reasons Why You’ll Love This Recipe
These Tiramisu Brownies are ridiculously easy to prepare, making them ideal for novice bakers and seasoned pros alike. With their unique flavor profile combining the bold taste of coffee and cocoa, they bring a wow factor to any dessert table. Their stunning appearance will have your guests thinking you spent hours in the kitchen (don’t worry; we won’t tell them otherwise). Plus, these brownies are incredibly versatile—you can customize them with different toppings or add-ins to suit your taste!
Ingredients for Tiramisu Brownies
Here’s what you need for this delicious dish:
Step-by-Step Preparation of Tiramisu Brownies
Here’s a simple guide to help you prepare this delicious recipe:
Step 1: Preheat Your Oven
Preheat your oven to 350°F (175°C) so it’s nice and hot when you’re ready to bake those luscious brownies.
Step 2: Prepare the Brownie Batter
In a large bowl, mix together 1 cup of granulated sugar and ½ cup of melted butter until smooth. Add in 2 large eggs one at a time, whisking well after each addition until fully incorporated. Stir in 1 teaspoon of sugar-free vanilla extract.
Step 3: Combine Dry Ingredients
In another bowl, whisk together 1 cup of all-purpose flour, ½ cup of unsweetened cocoa powder, and 1 teaspoon of baking powder until well mixed. Gradually fold this dry mixture into your wet ingredients until just combined—be careful not to overmix!
Step 4: Add Coffee Magic
Stir in ¼ cup of brewed coffee or espresso into your brownie batter until fully blended. If you’re feeling adventurous, toss in some cacao nibs or dark chocolate chips now!
Step 5: Bake Your Brownies
Spread the batter evenly into a greased baking pan (9×9 inches works great). Bake for about 20-25 minutes until a toothpick inserted comes out mostly clean – think moist crumbs rather than gooey batter.
Step 6: Prepare Mascarpone Layer
While your brownies cool down, whip together 8 ounces of room-temperature mascarpone cheese with another ¼ cup of granulated sugar until creamy. Fold in an additional tablespoon of brewed coffee for that tiramisu flair.
Step 7: Assemble Your Creation
Once cooled completely, spread the mascarpone mixture over the top of your brownies like frosting on a cake.
Step 8: Chill & Serve
Chill in the fridge for at least one hour before slicing into squares. Garnish with cocoa powder or grated chocolate if desired—just remember to serve chilled so each bite melts smoothly in your mouth!
Now grab those plates and enjoy these Tiramisu Brownies with friends or keep them all to yourself (we won’t judge!). These decadent treats are truly irresistible!
Improving the Cooking Method
For perfect Tiramisu Brownies, start by mixing the brownie batter thoroughly but gently. Bake at a lower temperature to ensure even cooking, then let them cool completely before layering with the mascarpone mixture for that dreamy texture.
Decorate Your Dish with Your Personal Touch
Get creative with your Tiramisu Brownies! Swap out Ladyfingers for sponge cake or use chocolate-covered espresso beans instead of traditional cocoa powder for an extra kick. The possibilities are endless!
Smart Tips for Storage and Reheating
To maintain that luscious texture of Tiramisu Brownies, store them in an airtight container in the fridge. For best results, enjoy them chilled and avoid reheating to keep the layers intact.
Practical Chef Advice
I remember the first time I made Tiramisu Brownies for a potluck. They vanished faster than socks in a dryer—everyone wanted my secret recipe, which I happily shared!
Conclusion for Tiramisu Brownies

Indulging in Tiramisu Brownies is a delightful experience that combines rich chocolate with the creamy texture of coffee-infused layers. This dessert not only satisfies your sweet tooth but also impresses guests at any gathering. With easy-to-find ingredients and simple preparation, you can create this decadent treat in no time. The blend of flavors and textures will transport you to a cozy café with every bite. Don’t wait—try making these Tiramisu Brownies today and elevate your dessert game!
Print
Tiramisu Brownies
Delicious tiramisu brownies recipe with detailed instructions and nutritional information.
- Total Time: 1 hour 15 minutes
- Yield: 16 servings 1x
Ingredients
- 1 cup granulated sugar
- 1/2 cup melted butter
- 2 large eggs, at room temperature
- 1 teaspoon sugar-free vanilla extract
- 1 cup all-purpose flour, sifted
- 1/2 cup unsweetened cocoa powder
- 1 teaspoon baking powder
- 1/4 cup brewed coffee or espresso
- 8 ounces mascarpone cheese, at room temperature
- 1/4 cup granulated sugar for mascarpone layer
- 1 tablespoon brewed coffee for mascarpone layer
- cacao nibs or dark chocolate chips, optional
Instructions
- Preheat your oven to 350°F.
- In a large bowl, mix together granulated sugar and melted butter until smooth.
- Add in eggs one at a time, whisking well after each addition until fully incorporated.
- Stir in sugar-free vanilla extract.
- In another bowl, whisk together all-purpose flour, unsweetened cocoa powder, and baking powder until well mixed.
- Gradually fold the dry mixture into the wet ingredients until just combined—be careful not to overmix!
- Stir in brewed coffee or espresso into your brownie batter until fully blended.
- Spread the batter evenly into a greased baking pan.
- Bake for about 20-25 minutes until a toothpick inserted comes out mostly clean.
- While your brownies cool down, whip together mascarpone cheese with granulated sugar until creamy.
- Fold in an additional tablespoon of brewed coffee.
- Once cooled completely, spread the mascarpone mixture over the top of your brownies.
- Chill in the fridge for at least one hour before slicing into squares.
Notes
Store brownies in an airtight container.
Reheat in the microwave briefly.
Serve with whipped cream topping.
Use high-quality espresso for flavor.
- Prep Time: 30 minutes
- Cook Time: 45 minutes
- Method: Bake
Nutrition
- Calories: 250 kcal
- Sugar: 18g
- Sodium: 150mg
- Fat: 12g
- Carbohydrates: 30g
- Fiber: 2g
- Protein: 4g
- Cholesterol: 25mg
FAQs
What can I substitute if I don’t have espresso?
If you don’t have espresso, you can use strong brewed coffee as a substitute. Just make sure it’s concentrated enough to provide the rich flavor required for the Tiramisu Brownies. Brew your coffee using a dark roast for the best results.
How do I store leftover Tiramisu Brownies?
To store leftover Tiramisu Brownies, place them in an airtight container and refrigerate for up to five days. If you’d like to enjoy them later, you can freeze individual pieces wrapped tightly in plastic wrap, then placed in a freezer-safe bag.
Can I make Tiramisu Brownies gluten-free?
Yes, you can make Tiramisu Brownies gluten-free by using a gluten-free all-purpose flour blend instead of regular flour. Ensure that all other ingredients are also gluten-free to maintain the integrity of the recipe.
How do I know when my brownies are done baking?
To check if your Tiramisu Brownies are done baking, insert a toothpick into the center. If it comes out with a few moist crumbs attached, they are ready; if it comes out clean, they may be overbaked. Keep an eye on them during the last few minutes!