
Imagine a warm, savory blanket of rich Hawaiian brown gravy cascading over a bed of fluffy rice or tender chicken, its umami flavor wrapping around your taste buds like a tropical hug. The silky texture, punctuated by subtle hints of garlic and onion, creates a symphony of flavors that dance delightfully on your palate.
Growing up, my family had an annual luau-themed potluck where we’d whip up our best “Hawaiian-inspired” dishes. I’ll never forget the time I attempted to impress everyone with my culinary prowess but ended up creating what can only be described as a gravy volcano—delicious but slightly explosive! Let’s just say I learned that day: the secret to great Hawaiian brown gravy isn’t just in the ingredients; it’s also about keeping it contained!
What Makes This Recipe Special
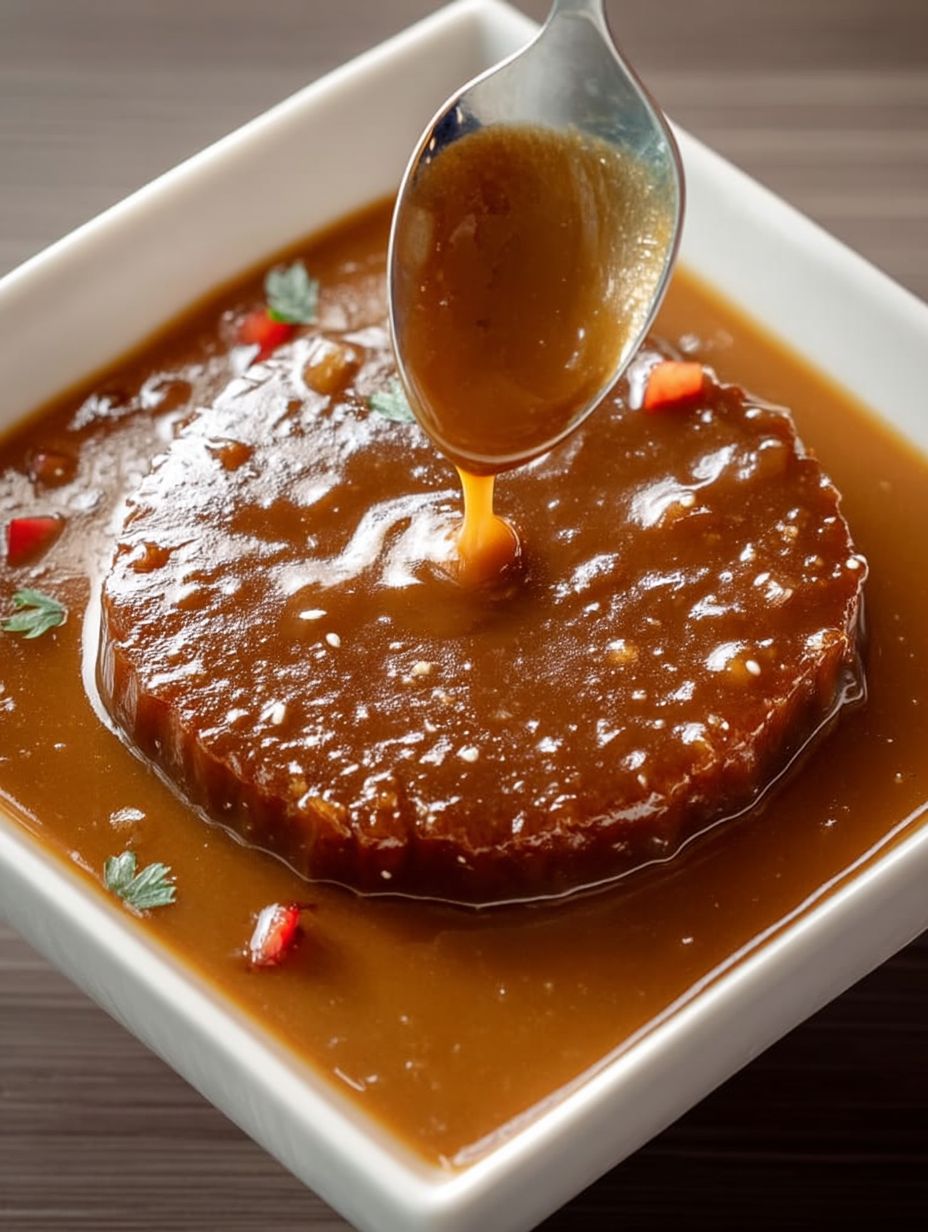
This Hawaiian brown gravy is not only easy to prepare but also boasts a unique flavor profile that is both rich and comforting. With its stunning glossy finish and inviting aroma, it promises to impress anyone at your dinner table. Plus, this versatile sauce can be customized with your favorite spices or served over anything from rice to grilled chicken, making it the perfect addition to any meal.
Ingredients for Hawaiian Brown Gravy
Here’s what you need for this delicious dish:
Complete Preparation Method Hawaiian Brown Gravy
Simply follow these easy steps to prepare this delicious meal:
Step 1: Start by combining the base
In a medium saucepan over medium heat, whisk together 2 cups of chicken broth, 2 tablespoons of soy sauce, 1 teaspoon of onion powder, 1 teaspoon of garlic powder, and 1/2 teaspoon of black pepper. Bring this mixture to a gentle simmer—it should bubble softly like it’s telling you all its savory secrets.
Step 2: Thicken your masterpiece
In a small bowl, mix 2 tablespoons of cornstarch with 2 tablespoons of cold water until smooth. Slowly pour this mixture into the simmering broth while whisking continuously. Keep stirring until the gravy thickens—this should take about 3-5 minutes. It’s like watching magic happen right before your eyes!
Step 3: Sweeten things up
Add in just one teaspoon of sugar at this point to balance out all those robust flavors. Stir well and let it simmer for another minute. This step is crucial because nobody likes their gravy tasting like a salty ocean!
Step 4: Add your finishing touch
To give your gravy that glossy sheen characteristic of Hawaiian brown gravy, sprinkle in one teaspoon of agar-agar while whisking constantly. Keep simmering for another minute until combined—your kitchen will start smelling heavenly!
Step 5: Adjust seasoning
Taste your creation and adjust seasoning if needed. More black pepper? Go ahead! A splash more soy sauce? Why not? This is your culinary canvas!
Step 6: Serve it hot
Once you’re satisfied with the flavor and texture (and you’re probably drooling by now), remove from heat. Serve immediately over rice or grilled chicken. Garnish with fresh herbs if you’re feeling fancy—after all, presentation matters too!
Garnish with fresh parsley or green onions and serve immediately to enjoy every drop of this luscious Hawaiian brown gravy! Your taste buds will thank you!
Perfecting the Cooking Process
For the best Hawaiian Brown Gravy, start by whisking your broth and seasonings together before heating. This ensures a smooth, lump-free gravy. Heat gently to avoid scorching, stirring constantly until thickened for that perfect velvety finish.
Add Your Personal Touch
Feel free to swap out chicken broth for beef or vegetable broth in your Hawaiian Brown Gravy. You can also add a splash of pineapple juice for a fruity twist that enhances the tropical flavors.
Storage & Reheating

To maintain the rich texture of your Hawaiian Brown Gravy, store it in an airtight container in the fridge. When reheating, do so gently over low heat while stirring continuously to keep it smooth and luscious.
Helpful Chef Tips
I remember the first time I made Hawaiian Brown Gravy; my friends insisted it was like a mini vacation on their plates! The laughter and cheers made it unforgettable.
Conclusion for Hawaiian Brown Gravy
Hawaiian Brown Gravy is a delightful addition to your meals, transforming simple dishes into flavorful experiences. With its rich, savory notes and versatility, this gravy pairs beautifully with chicken, beef, or turkey. The combination of fresh ingredients and the unique flavors make it a perfect choice for any occasion. Don’t miss out on the chance to elevate your next dinner! Try this recipe today and savor the wonderful taste of Hawaiian Brown Gravy that will leave your family asking for seconds.
Print
Hawaiian Brown Gravy
Delicious hawaiian brown gravy recipe with detailed instructions and nutritional information.
- Total Time: 1 hour
- Yield: 4 servings 1x
Ingredients
- 2 cups chicken broth, low-sodium
- 2 tablespoons soy sauce, low-sodium if preferred
- 1 teaspoon onion powder
- 1 teaspoon garlic powder
- 1/2 teaspoon ground black pepper, freshly ground
- 2 tablespoons cornstarch
- 2 tablespoons cold water
- 1 teaspoon sugar, brown sugar for added depth
- 1 teaspoon agar-agar
Instructions
- In a medium saucepan over medium heat, whisk together 2 cups of chicken broth, 2 tablespoons of soy sauce, 1 teaspoon of onion powder, 1 teaspoon of garlic powder, and 1/2 teaspoon of black pepper.
- Bring this mixture to a gentle simmer.
- In a small bowl, mix 2 tablespoons of cornstarch with 2 tablespoons of cold water until smooth.
- Slowly pour this mixture into the simmering broth while whisking continuously.
- Keep stirring until the gravy thickens—this should take about 3-5 minutes.
- Add in just one teaspoon of sugar at this point to balance out all those robust flavors.
- Stir well and let it simmer for another minute.
- Sprinkle in one teaspoon of agar-agar while whisking constantly.
- Keep simmering for another minute until combined.
- Taste your creation and adjust seasoning if needed.
- Remove from heat and serve immediately over rice or grilled chicken.
Notes
Store leftover Hawaiian Brown Gravy in an airtight container in the refrigerator for up to five days.
Reheat gently on low heat, stirring frequently to maintain smooth consistency and flavor.
Serve over rice, mashed potatoes, or grilled meats for a delicious meal enhancement.
For extra depth, incorporate fresh ginger or pineapple juice into the gravy while cooking.
- Prep Time: 30 minutes
- Cook Time: 30 minutes
- Method: Stovetop
Nutrition
- Calories: 150 kcal
- Sugar: 8g
- Sodium: 300mg
- Fat: 5g
- Carbohydrates: 25g
- Fiber: 3g
- Protein: 2g
- Cholesterol: 25mg
FAQs
What can I serve with Hawaiian Brown Gravy?
Hawaiian Brown Gravy pairs wonderfully with a variety of dishes. It complements rice perfectly, making it an ideal topping for both steamed and fried rice. You can also serve it over roasted chicken or beef dishes for added flavor. For a heartier meal, consider pouring it over mashed potatoes or grilled vegetables. This gravy’s versatility allows you to enhance many favorites!
How do I store leftover Hawaiian Brown Gravy?
To store leftover Hawaiian Brown Gravy, first let it cool completely at room temperature. Then transfer it to an airtight container and refrigerate. Properly stored, it will last for up to three days in the fridge. If you want to keep it longer, consider freezing it in portions. Just remember to thaw it in the refrigerator before reheating.
Can I make Hawaiian Brown Gravy ahead of time?
Yes, you can definitely make Hawaiian Brown Gravy ahead of time! Prepare the gravy as per the recipe and allow it to cool completely before storing in an airtight container. You can refrigerate it for up to three days or freeze it for longer storage. When you’re ready to use it, simply reheat on the stove over low heat until warmed through.
Is there a way to thicken Hawaiian Brown Gravy?
If you prefer a thicker consistency for your Hawaiian Brown Gravy, there are a few methods you can use. One option is to mix a small amount of cornstarch with cold water to create a slurry and then stir this mixture into the gravy while it’s simmering. Alternatively, you can let the gravy simmer longer to reduce its liquid content naturally, which will also thicken it without adding extra ingredients.